Quick Summary
On-site installation: 1–3 days (for 3–10 kWp systems)
End-to-end process: typically around 6–18 weeks for residential and small commercial projects; large industrial projects usually take 15–30 weeks or longer, depending on scale and local procedures.
Longest phase: Permitting & grid connection (typically 10–30 days for residential systems, and 30–60+ days for commercial/industrial projects).
Many customers are surprised to learn that physically installing solar panels on a rooftop takes only 1–3 days. However, the entire journey—from the initial site survey to official grid connection and commercial operation—can take 6–18 weeks, due to factors such as engineering design, permitting, and connection to the Vietnam Electricity (EVN) grid.
This discrepancy often leads to misunderstandings and unrealistic expectations about project timelines. Based on practical experience from typical projects in Vietnam, physical installation accounts for only 10–15% of the total project duration, while the majority of time is spent on preparation, administrative procedures, and inspections.
This article provides a detailed analysis of:
-
Five main phases with specific timelines
-
Comparison tables by system capacity and type
-
Key factors affecting project duration
-
Practical ways to optimize and shorten the timeline
Quick Comparison Table: Installation Timeline by System Capacity & Type
Before diving into each phase, the table below provides an overview to help you estimate the timeline for your project.
Installation Timeline by Capacity (Residential Systems)
| Capacity | Roof Area | Installation Time | Total Duration | Conditions |
|---|---|---|---|---|
| 3–5 kWp | 15–25 m² | 1–2 days | 3–5 weeks | Metal roof, good weather, simple procedures |
| 6–10 kWp | 30–50 m² | 2–3 days | 4–6 weeks | Tile/concrete roof, some fabrication required |
| 10–20 kWp | 50–100 m² | 3–5 days | 5–8 weeks | Small businesses, more complex permitting |
Residential vs. Commercial Comparison
| Factor | Residential | Commercial |
|---|---|---|
| Typical capacity | 3–10 kWp | 20–100+ kWp |
| Physical installation | 1–3 days | 5–30 days |
| Survey & design | 3–7 days | 5–10 days |
| Permitting | 5–10 days | 15–45 days |
| Grid connection | 7–20 days | 20–60 days |
| Total duration | 3–6 weeks | 8–20 weeks |
| Complexity | Low | High (three-phase power, backup systems, monitoring) |
Key Takeaways
-
Physical rooftop installation represents only a small portion of the total timeline. When you see advertisements claiming “fast installation,” they usually refer only to the final step of a much longer process.
-
Most of the time is spent on preparation, permitting, and grid connection. These steps are mandatory and heavily dependent on authorities such as EVN and local construction departments.
-
Larger systems are not only slower to deploy but also more complex. The difference between small and large systems lies not just in duration, but also in legal and technical complexity.
Five Detailed Phases of the Rooftop Solar Installation Process
Understanding each phase helps you prepare properly and avoid unexpected delays.
Phase 1 — Initial Site Survey & Consultation (1–3 days)
This is the foundational step that determines the overall quality of the project. A thorough site survey helps prevent issues later in the process.
Key activities
🔍 Technical survey
-
Measure roof area, orientation, and tilt angle
-
Check roof structure (load-bearing capacity for panels and mounting structures)
-
Assess the existing electrical system
-
Identify locations for the inverter and electrical cabinet (distribution board)
Load & demand analysis
-
Average electricity consumption (kWh/month)
-
Energy cost-saving objectives
-
Investment budget
Outputs of this phase
-
Technical survey report
-
Recommended system capacity
-
Preliminary cost estimate
-
Estimated overall project timeline
Timeline
-
Residential: 1 day (if electricity bill data is available)
-
Commercial: 2–3 days (requires more detailed analysis)
Time-saving tip
Prepare six months of electricity bills and any available roof drawings in advance. This allows engineers to complete the assessment more quickly. If you have a diagram of the existing electrical system, it will further shorten the evaluation process.
Notes
-
This phase is usually free of charge with reputable EPC contractors
-
No binding commitment—this is advisory only
-
Request a detailed survey report, not just a price quote
Phase 2 — Engineering Design & Finalizing the Solution (3–7 days)
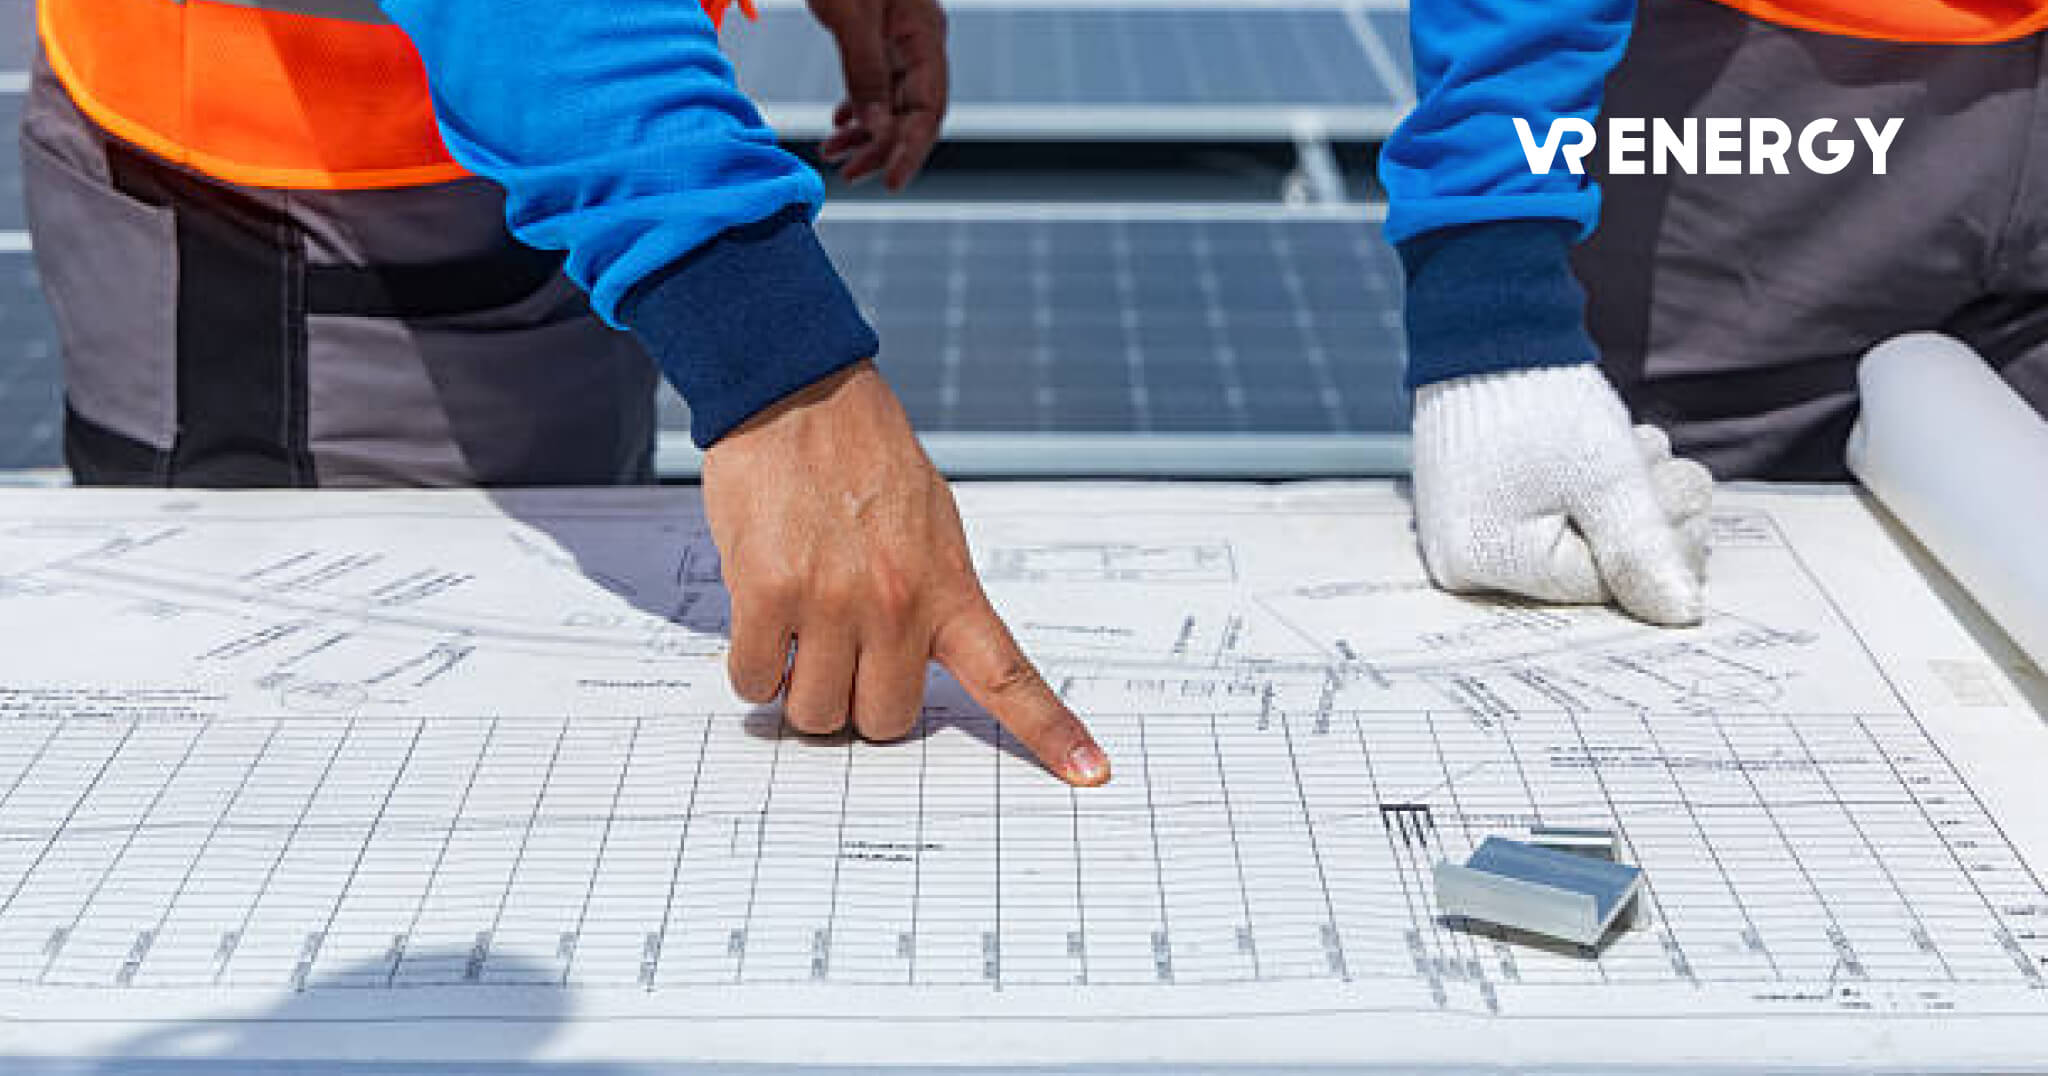
After the site survey, the next step is to convert real-world measurements into a detailed design that can be executed on-site.
Key activities
Detailed system design
-
Optimized module layout (maximize usable roof area, avoid shading)
-
Electrical wiring diagram (single-line diagram)
-
Specific equipment selection:
-
Solar modules: power rating, efficiency, origin
-
Inverter: single-phase/three-phase, appropriate capacity
-
Cables, MCBs, protection devices
-
-
Estimated energy yield calculation (kWh/month)
Construction drawings
-
Installation plan layout
-
Mounting structure details
-
Cable routing and grounding locations
Timeline
-
Small systems (3–5 kWp): 3–5 days
-
Mid-size systems (10–20 kWp): 5–7 days
-
Large systems (50+ kWp): 7–14 days
Outputs of this phase
-
Complete design document package
-
Detailed equipment list with pricing
-
EPC contract
-
Phase-by-phase project schedule
Criteria for evaluating a good design
| Criteria | Description | Importance |
|---|---|---|
| Roof area optimization | Maximize roof utilization and avoid shading | ⭐⭐⭐⭐⭐ |
| Safety | Load calculations, lightning protection | ⭐⭐⭐⭐⭐ |
| Performance | Tilt angle optimized for the project location | ⭐⭐⭐⭐ |
| Aesthetics | Symmetrical panel arrangement | ⭐⭐⭐ |
Tip
Ask for simulation outputs or 3D visuals to clearly understand the proposed system before signing the contract. Many modern EPC contractors use professional design software so you can “see” the system before it is built.
Phase 3 — Permitting & Procurement Preparation (5–30 days) THE LONGEST PHASE
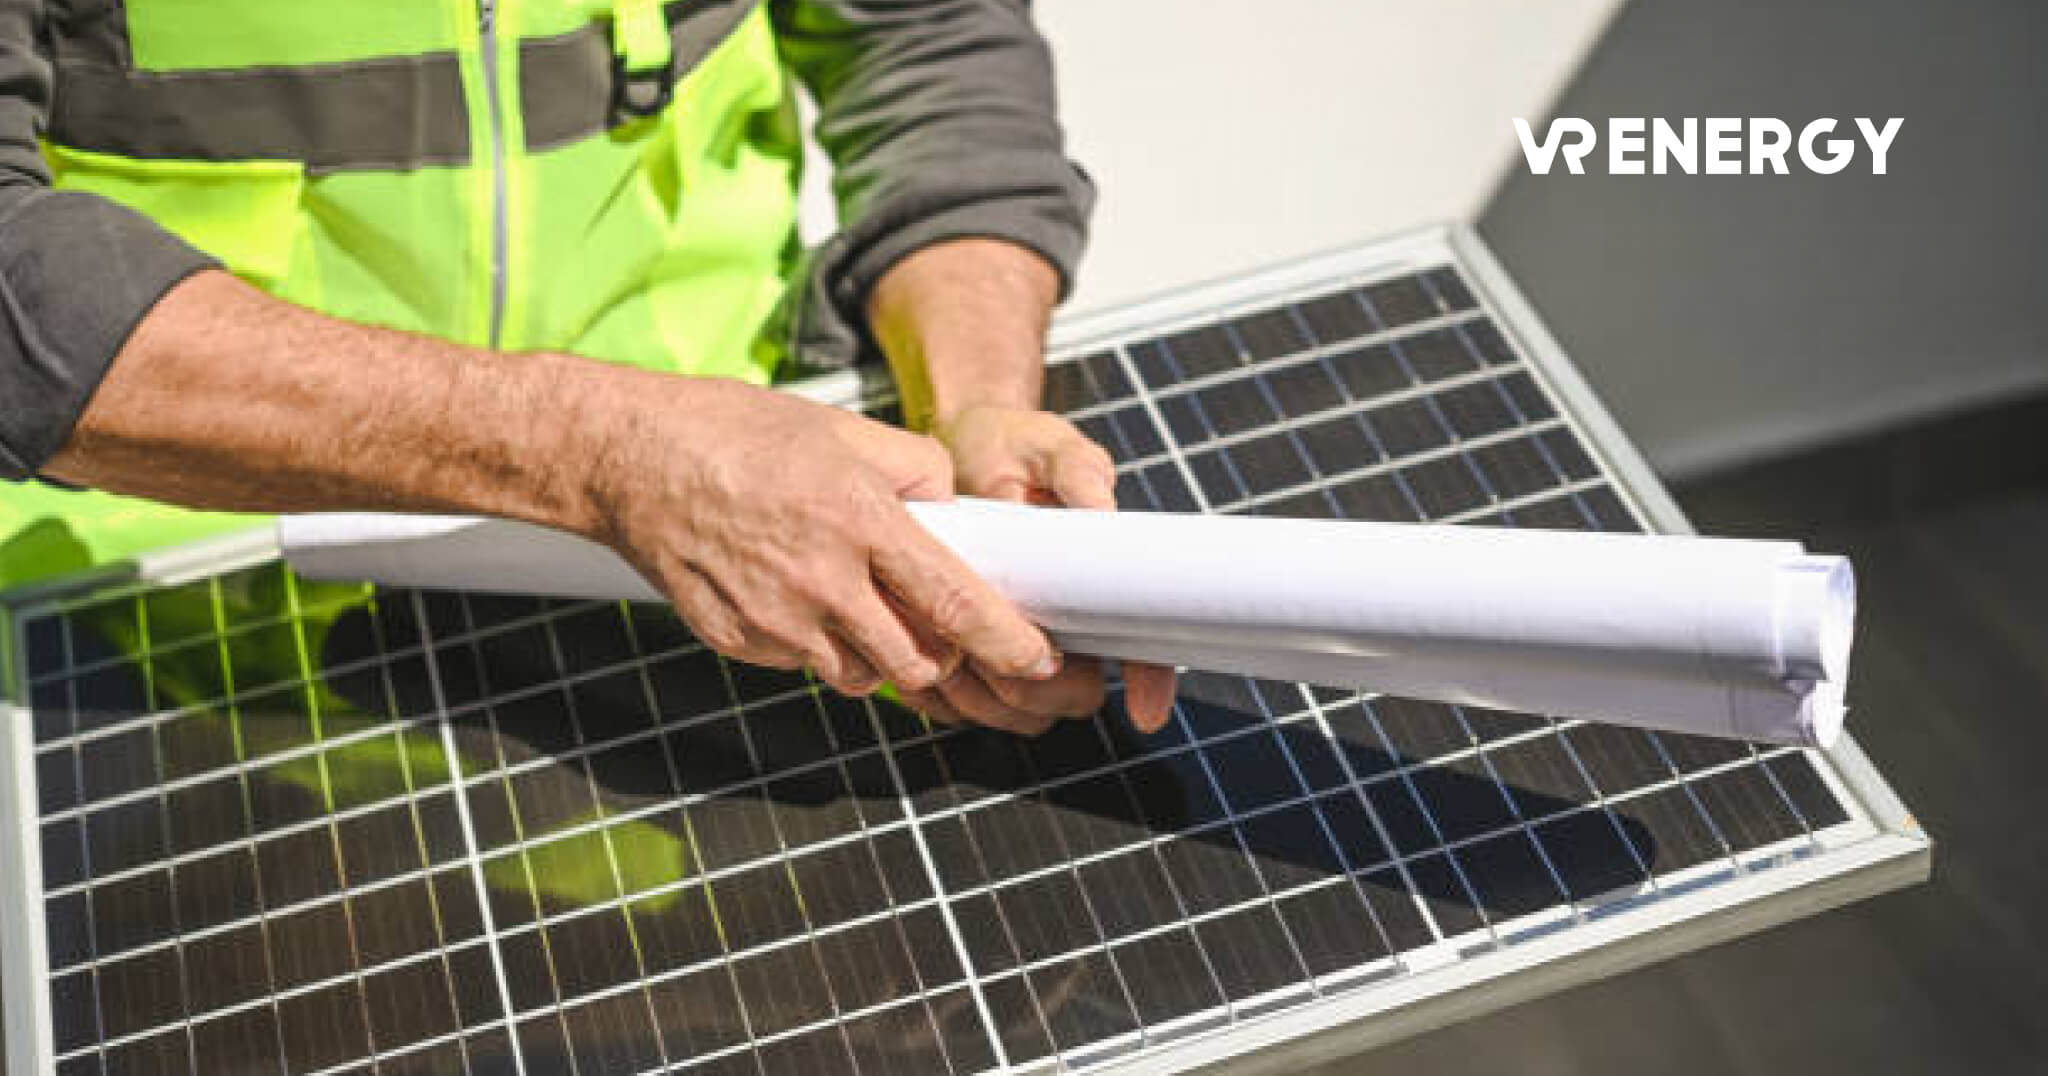
This phase is the “bottleneck” of the entire process. Many projects are delayed not because installation is slow, but because paperwork gets stuck.
Why is this phase the longest?
It depends on:
-
Administrative procedures (outside your direct control)
-
Differences in local regulations
-
Processing speed of EVN and permitting authorities
Required permits and registrations
Construction permit (if required)
-
Typically not required for rooftop solar installed on an existing roof (even at higher capacities)
-
Usually reviewed only when:
-
there is substantial roof structural modification; or
-
a new, independent mounting frame/structure is built
-
-
Timeline: 5–15 days
Registration with the utility (EVN)
-
Smaller systems: simpler procedures
-
Larger systems: more complex documentation
-
Timeline: 7–20 days
Power purchase agreement (if applicable)
The fixed FIT mechanism for rooftop solar has ended. However, the State has issued newer regulations that allow a portion of surplus electricity from self-consumption systems to be sold to the grid at a capped ratio—currently not exceeding 20% of installed capacity under the prevailing regulations.
As a result, a power purchase agreement is no longer the default for every rooftop system, and it applies only when:
-
the system is properly registered under the applicable planning framework and classified as “self-generation – self-consumption, with surplus export”; and
-
the owner meets the technical, metering, and contractual requirements under current regulations with EVN or the relevant power buyer.
For larger enterprises, additional PPA/DPPA models may be applied under specialized decrees. For small households, the primary model typically remains self-consumption, with limited surplus export if eligible and within permitted limits.
Note: During 2021–2023, EVN temporarily suspended the FIT-based surplus purchase mechanism for rooftop systems. Under newer regulations (such as Decree 135/2024/NĐ-CP), exporting surplus electricity is permitted only in certain cases, with a maximum ratio of around 20% of installed capacity, and subject to full compliance with technical, metering, and contractual requirements. Small households generally operate mainly under the self-consumption model, exporting surplus only if eligible.
In parallel: Procurement preparation
-
Equipment ordering (if not in stock): 7–15 days
-
Transportation: 1–3 days (domestic) or longer (imports)
-
Quality inspection: 1–2 days
-
Delivery to the site: 1–3 days
Practical timeline
| Project type | Permitting | Materials | Total |
|---|---|---|---|
| Residential (< 10 kWp) | 5–10 days | 3–7 days | 1–2 weeks |
| Commercial (10–50 kWp) | 10–20 days | 7–14 days | 3–5 weeks |
| Industrial (> 50 kWp) | 20–45 days | 14–30 days | 5–10 weeks |
💡 How to shorten this phase
-
Work with an experienced EPC contractor: Reputable EPCs understand local procedures well, know exactly what documentation is required, and help avoid repeated submissions due to missing items.
-
Prepare documents early:
-
Land ownership certificate (pink book), construction permit (if any)
-
Electricity bills from the most recent six months
-
Household owner’s ID (National ID / citizen ID)
-
-
Select common equipment models: Avoid special-order equipment; choose popular models that suppliers typically keep in stock to reduce waiting time.
Common causes of delay
-
Missing or incorrect documentation → returned for revision
-
EVN capacity constraints (often toward year-end)
-
Equipment out of stock → waiting for restocking/imports
Phase 4 — On-site Installation (1–5 days) THE FASTEST PHASE
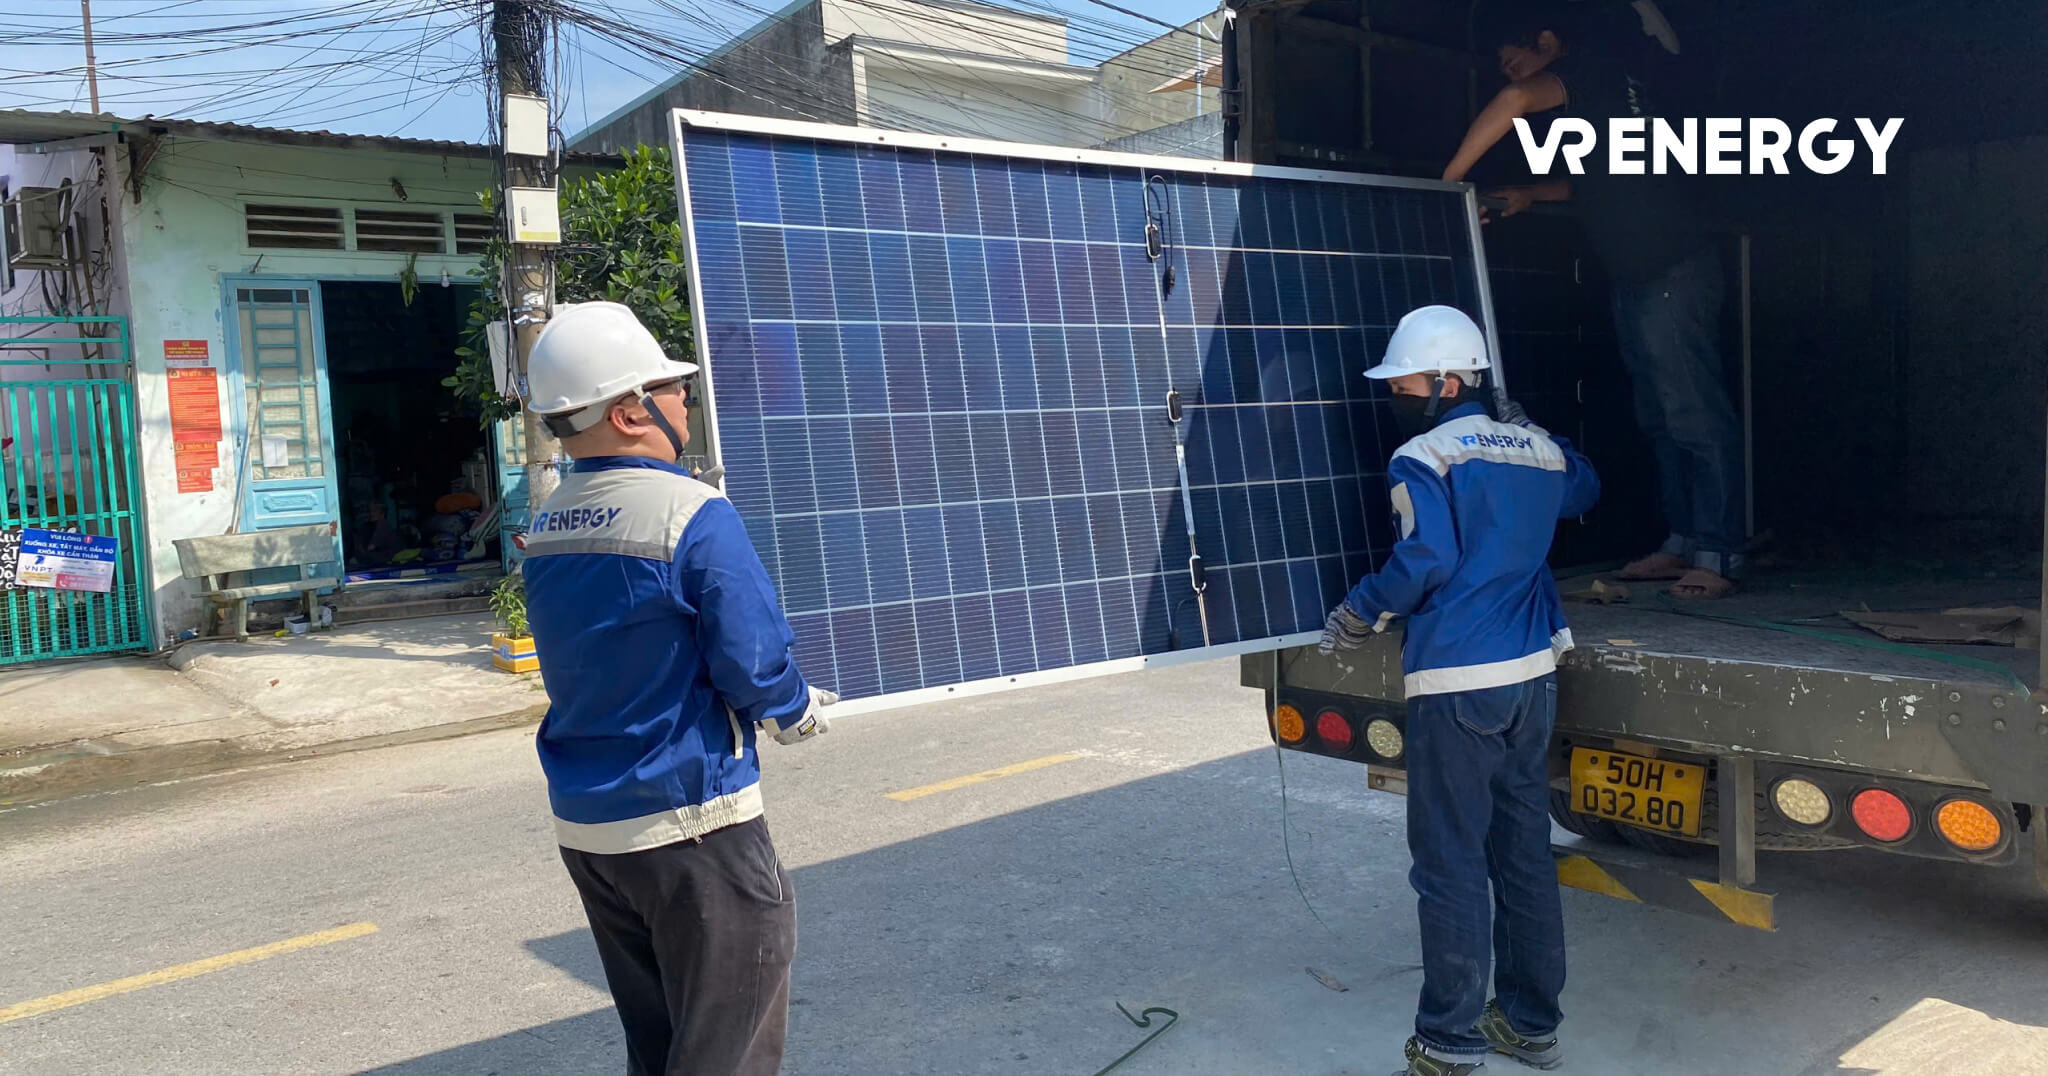
This is the phase most customers assume represents “the entire project,” but in reality, it is the shortest part of the overall process.
Why is this phase so fast?
-
The installation crew follows standardized procedures and has hands-on experience
-
All equipment has already been prepared in advance
-
This phase involves primarily physical installation work
Day-by-day installation timeline
DAY 1 — Preparation & Mounting Structure Installation
-
Transport equipment to the site
-
Set up scaffolding (if required) and conduct safety checks
-
Install mounting structures (rails) on the roof: drilling, anchoring, and waterproofing
DAY 2 — Module Installation & DC Wiring
-
Install solar modules onto the mounting rails and secure them with certified clamps
-
Connect DC wiring between modules
-
Perform initial voltage checks
Modules are wired in series into strings; multiple strings may be paralleled at the inverter/combiner according to the design.
DAY 3 — Inverter & Electrical System Installation
-
Install the inverter in a well-ventilated location
-
Connect the inverter to the electrical cabinet (distribution board)
-
Install MCBs, protection devices, and grounding
DAY 4–5 (if required) — Finalization
-
Cleaning and full-system inspection
-
Test run and measurement of key technical parameters
Required manpower
| System capacity | Number of technicians | Timeline |
|---|---|---|
| 3–5 kWp | 2–3 people | 1–2 days |
| 6–10 kWp | 3–4 people | 2–3 days |
| 20–50 kWp | 5–8 people | 5–10 days |
Factors affecting installation speed
Time-saving conditions
-
Metal roof, flat and easy to access
-
Good weather (dry, no rain)
-
Experienced installation team
Conditions that may cause delays
-
Tile roofs (require careful removal and reinstallation)
-
High or steep roofs
-
Rain or strong wind → work suspension
-
Unexpected technical issues discovered on-site
💡 What should the customer prepare?
-
Ensure the roof is clean and free of obstacles
-
Clear the area around the electrical cabinet for easy access
-
Provide water and electricity for installation work
-
Be present or authorize a representative during installation
Phase 5 — Inspection, Grid Connection & Handover (7–20 days)
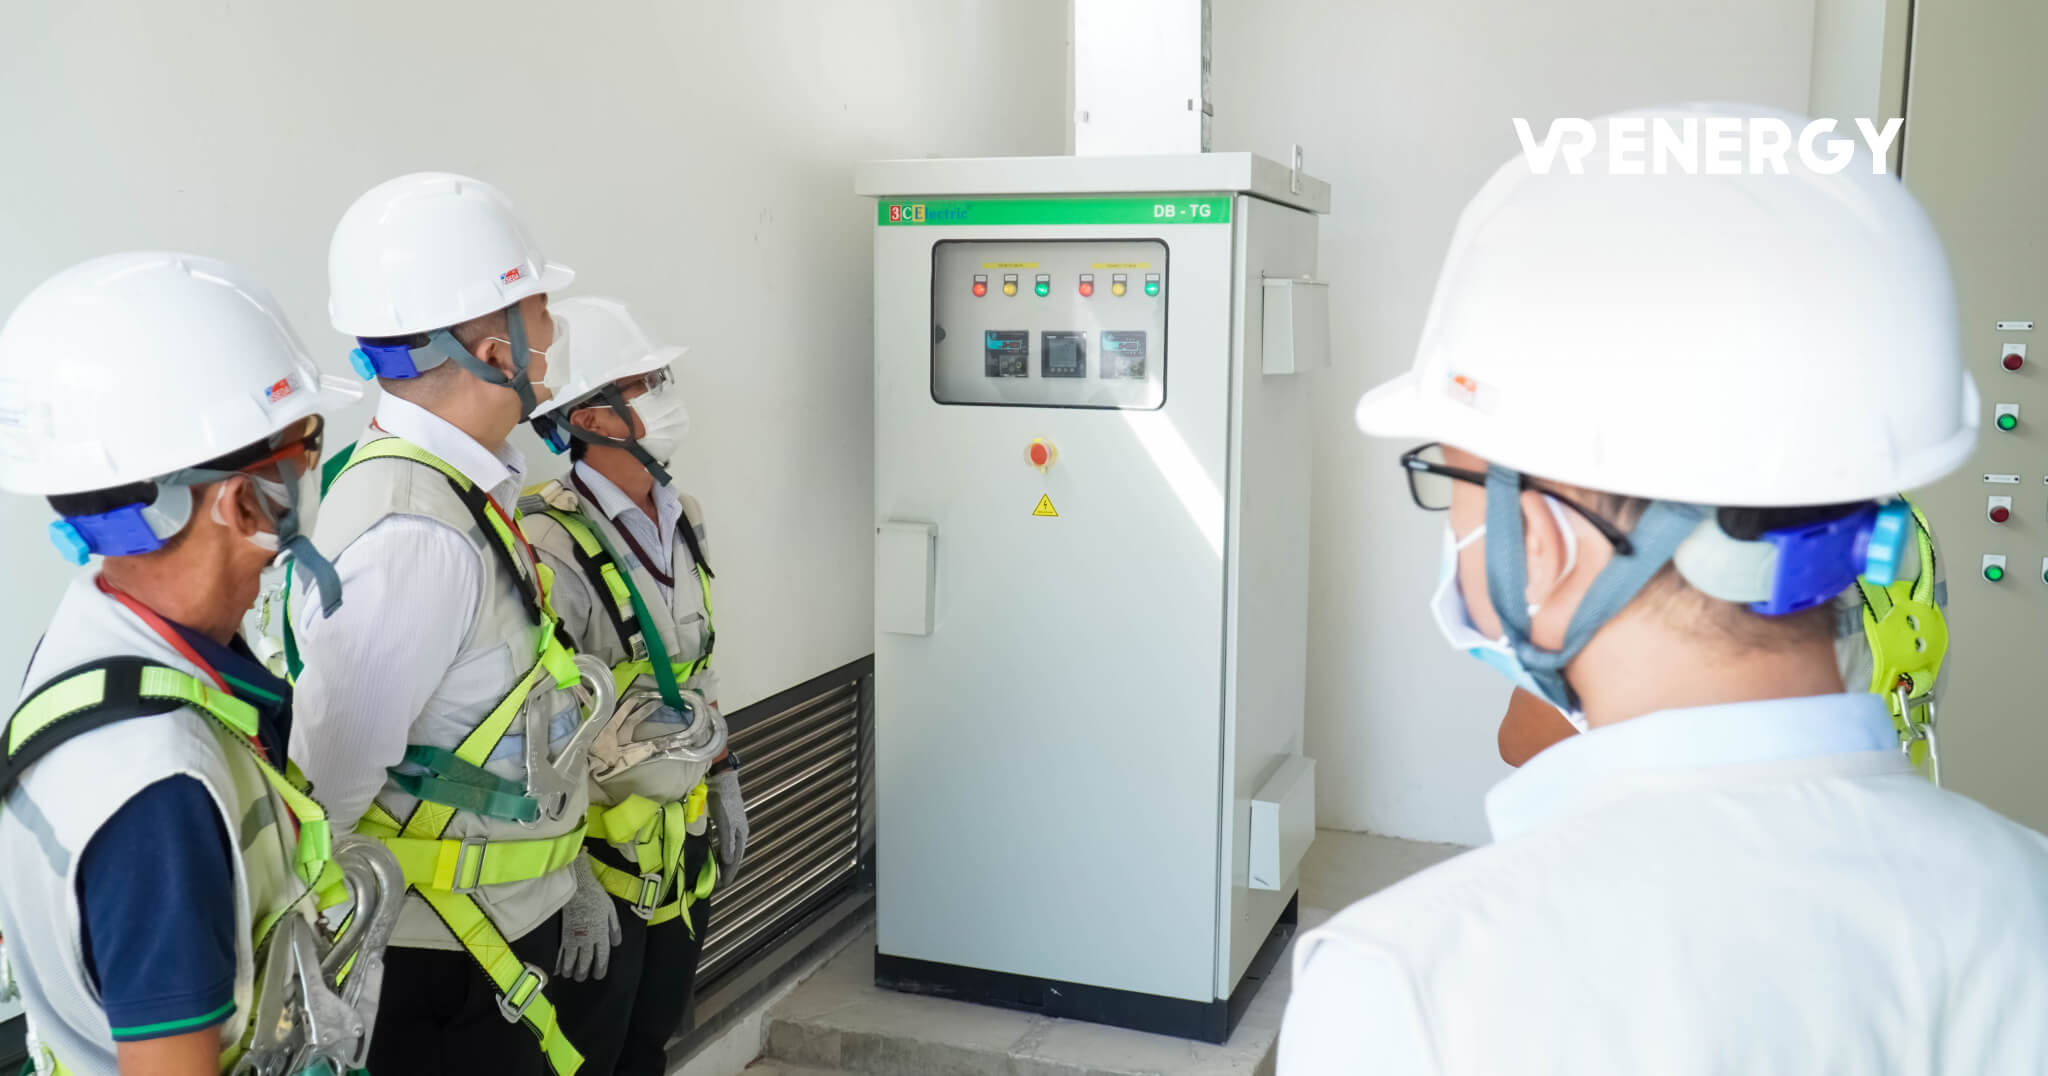
The system may be fully installed, but it cannot officially operate yet. This is the final waiting phase before you can start using solar power.
Why does this phase take time?
It depends on:
-
EVN scheduling (outside your control)
-
Electrical safety inspection procedures
-
Remaining administrative steps
📋 Step-by-step process
STEP 1 — Internal inspection (1–2 days)
-
EPC performs a full system inspection
-
Tests all technical parameters
-
Conducts trial operation
-
Rectifies any issues found
STEP 2 — Third-party inspection (if required)
-
Large systems: inspection is typically mandatory
-
Small systems: depends on local regulations
-
Timeline: 5–10 days waiting for inspection scheduling
STEP 3 — EVN inspection & meter installation (5–15 days)
-
Register inspection schedule with EVN
-
EVN engineers inspect electrical safety and grid connection compliance
-
Install electricity meter (one-way or two-way)
-
EVN grants permission for operation
STEP 4 — Handover & user training
-
Sign handover acceptance records
-
Provide system operation and monitoring guidance
-
Deliver warranty documents and technical dossiers
⏱️ Practical timeline
| Project type | Internal inspection | EVN inspection | Total |
|---|---|---|---|
| Residential (< 10 kWp) | 1–2 days | 5–10 days | 1–2 weeks |
| Commercial | 2–3 days | 10–15 days | 2–3 weeks |
| Industrial | 3–5 days | 15–30 days | 3–6 weeks |
🎯 When does the system officially start generating electricity?
After EVN completes inspection and activates the electricity meter, the system is officially authorized for operation. Prior to this, the system may be test-run, but it is not permitted to connect to the national grid until EVN approval is granted.
💡 Time-saving tip
Contact EVN as early as possible (immediately after installation is completed), prepare complete documentation to avoid resubmission, and work with an EPC contractor experienced in EVN procedures.
Seven Key Factors Affecting Installation Timeline
Understanding these factors helps you plan more accurately and avoid unexpected delays.
1. Roof Type & Roof Condition
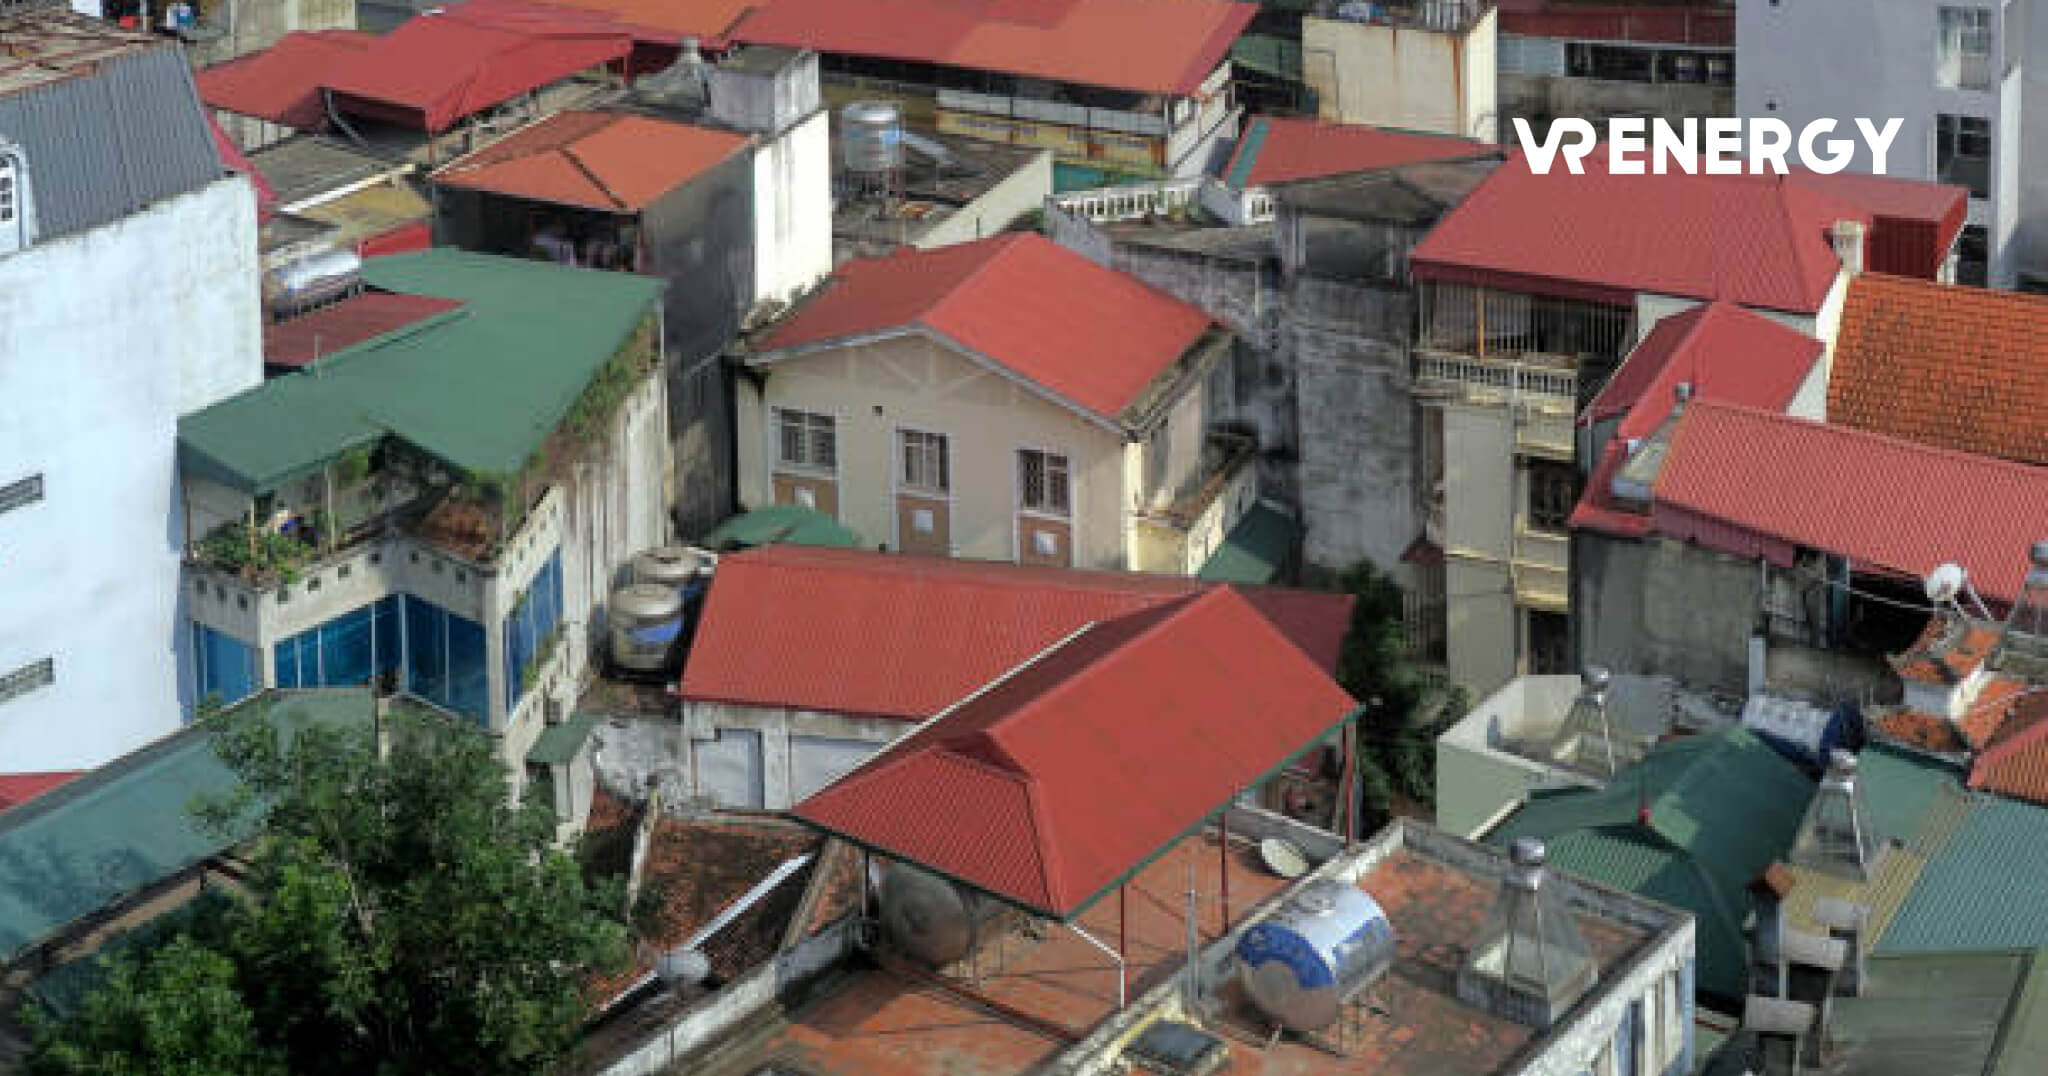
Comparison table
| Roof type | Difficulty | Installation time impact | Reason |
|---|---|---|---|
| Metal roof | Easy ⭐ | +0 days (baseline) | Easy drilling and fast fixing |
| Tile roof | Medium ⭐⭐ | +0.5–1 day | Careful tile removal and waterproofing required |
| Concrete roof | Medium ⭐⭐ | +0.5–1 day | Concrete drilling and anchoring needed |
| Flat roof | Hard ⭐⭐⭐ | +1–2 days | Requires tilted mounting structures |
| Steep roof (>30°) | Very hard ⭐⭐⭐⭐ | +2–3 days | Special safety equipment required |
Roof condition
-
New, structurally sound roof: no impact
-
Old or weak roof: reinforcement required before installation
-
Damaged roof: repairs must be completed prior to installation
Based on practical experience, metal roofs typically allow the fastest installation due to ease of fabrication. In contrast, traditional tile roofs require higher craftsmanship and additional time to avoid tile damage.
2. System Scale & Technical Complexity
The larger the system, the longer the installation time. Additional complexity further affects the timeline.
Additional complexity factors
-
Systems with battery storage: additional installation time
-
Multiple inverters: more complex wiring and coordination
-
Advanced monitoring systems: additional setup required
-
Three-phase electrical systems (commercial/industrial): higher technical requirements
Storage is especially useful in areas with frequent outages or for households seeking to operate independently of the grid for certain periods.
3. Weather Conditions & Seasonality
📅 Best installation periods
| Period | Conditions | Recommendation |
|---|---|---|
| November–March | Dry season, low rainfall | ⭐⭐⭐⭐⭐ BEST |
| April–May | Seasonal transition | ⭐⭐⭐ Good |
| June–September | Rainy season | ⭐⭐ Consider carefully |
| October | End of rainy season | ⭐⭐⭐ Acceptable |
Specific impacts
-
Clear weather: normal installation
-
Light rain: temporary suspension for a few hours
-
Heavy rain: work postponed for the day
-
Strong wind: rooftop work prohibited (safety regulations)
-
Storms/typhoons: multi-day delays
💡 Strategy
Schedule installation several weeks in advance, prioritize the dry season, and prepare contingency plans for adverse weather. Many customers prefer December–January when conditions are most stable.
4. Geographic Location & Site Accessibility
| Location | Impact | Potential added time |
|---|---|---|
| Urban areas | None | Baseline |
| Suburban areas | Minor | Longer travel time |
| Remote areas | Moderate | More complex logistics |
| Mountainous/island areas | Significant | Difficult transportation |
| Poor access roads | Significant | Special transport solutions needed |
Other considerations
-
Narrow access roads for equipment transport
-
Requirement for special equipment (cranes, lifts)
-
Lack of water/electricity at the site
5. Installation Team Experience & EPC Capability
| Team type | Speed | Quality | Cost |
|---|---|---|---|
| Professional EPC contractor | Fast | High | Reasonable |
| Freelance installers | Slower | Variable | Sometimes cheaper |
| Inexperienced teams | Very slow | Unreliable | High risk |
💡 Recommendation
Choose an EPC with a clear project portfolio and verified installation photos—not solely based on the lowest price. A solar system is a long-term investment; quality matters more than short-term savings.
6. Local Permitting Procedures
Differences by locality
🏙️ Major cities (Ho Chi Minh City, Hanoi):
-
Clear, standardized procedures
-
Online tracking available
-
Relatively stable timelines
🏘️ Mid-sized provinces:
-
Basic procedures in place
-
Timelines may fluctuate
🏞️ Smaller localities:
-
Procedures may not be fully standardized
-
Timelines harder to predict
Tip: Select an EPC with local experience—they understand specific regional requirements and workflows.
7. Grid Connection Type
| System type | Grid connection timeline | Characteristics |
|---|---|---|
| Off-grid | No EVN waiting time | Requires battery storage |
| On-grid | 7–20 days | Most common option |
| Hybrid | 10–25 days | Combines storage and grid connection |
-
One-way meter: Used for self-consumption models; no surplus electricity settlement; procedures are usually simpler.
-
Two-way meter: Previously used under surplus purchase mechanisms (FIT/DPPA). Current installation and use depend on policy and specific agreements with EVN or the power buyer.
On-grid systems remain the most popular choice for households and businesses due to optimized costs and no mandatory battery investment.
Comprehensive Comparison: Residential, Commercial & Industrial Systems
📊 Full comparison table
| Factor | Residential | Commercial | Industrial |
|---|---|---|---|
| Typical capacity | 3–10 kWp | 20–100 kWp | 100+ kWp |
| Roof area | 15–50 m² | 100–500 m² | 500+ m² |
| Survey & design | 3–7 days | 5–10 days | 10–30 days |
| Permitting | 5–10 days | 15–30 days | 30–90 days |
| Physical installation | 1–3 days | 5–15 days | 15–60 days |
| Inspection | Self-check | Mandatory inspection | Full inspection |
| Grid connection | 7–15 days | 15–30 days | 30–60 days |
| Total duration | 3–6 weeks | 8–15 weeks | 15–30 weeks |
| Complexity | Low | Medium | High |
| Equipment | Single-phase inverter | Multiple inverters, three-phase | Complex system architecture |
| Backup | None or minimal | Often included | Large-scale backup |
| Monitoring | Mobile app | Dashboard | Professional monitoring system |
| Maintenance | Minimal | Periodic | Frequent |
💡 Key Differences
Residential systems
Advantages
-
Fast and simple (1–3 days installation)
-
Minimal permitting
-
Lower upfront cost
-
Easy to manage
Limitations
-
Small capacity
-
Limited savings potential
-
Longer payback period
Commercial systems
Advantages
-
Moderate scale
-
Significant electricity cost savings
-
Faster payback
-
Enhances green corporate image
Limitations
-
More complex procedures
-
Mandatory inspections
-
Higher maintenance costs
Industrial systems
Advantages
-
Very large electricity cost savings through on-site self-consumption
-
Potential to combine PPA/DPPA models or third-party power supply agreements where legally permitted
-
Strong payback potential with optimized design and operation
Limitations
-
Very long timelines (15–30 weeks)
-
Complex procedures
-
High capital investment
-
Requires professional management
Ten Frequently Asked Questions About Installation Timeline
1. Can a solar system really be installed in one day?
Yes—for small systems (3–5 kWp) on metal roofs, under good weather conditions, and with an experienced crew. However, this refers only to physical installation.
The entire process, from survey to grid connection, still takes 3–6 weeks due to permitting, inspections, and EVN approval.
2. Which phase takes the longest?
Permitting and grid connection are the longest phases, especially for commercial and industrial projects.
-
Residential systems: typically 10–30 days
-
Commercial/industrial projects: several weeks to several months, depending on scale and local procedures
3. How long does a 10 kWp residential system take?
-
Physical installation: 2–3 days
-
Total project duration: 4–6 weeks, including:
-
Survey & design: 3–5 days
-
Permitting & procurement: 1–2 weeks
-
Installation: 2–3 days
-
Inspection & grid connection: 1–2 weeks
-
This timeline assumes normal conditions (metal roof, good weather, no technical issues).
4. How does bad weather affect the schedule?
Weather can significantly impact progress.
-
Light rain: temporary suspension for a few hours
-
Heavy rain: work postponed for the day
-
Strong wind: rooftop work prohibited (safety rules)
-
Storms/typhoons: multi-day delays
Recommendation: Schedule installation during the dry season (November–March) to minimize disruptions.
5. After installation, how long until the system officially generates electricity?
Not immediately after installation. Typically 1–3 additional weeks are required for:
-
Internal inspection: 1–2 days
-
EVN registration: 3–5 days
-
EVN inspection and meter installation: 5–15 days
The system may be test-run earlier but cannot officially connect to the grid until EVN approval is granted.
6. How is a large system (50+ kWp) different from a small one?
Major differences include:
-
Much longer installation time (15–30 days vs. 1–3 days)
-
More complex permitting (30–90 days)
-
Mandatory inspections
-
More complex technical systems (three-phase power, multiple inverters, advanced monitoring)
-
Significantly higher investment levels
7. Are there ways to shorten the overall project timeline?
Yes—four effective strategies:
-
Choose an experienced EPC familiar with local permitting
-
Prepare complete documentation upfront (ownership papers, ID, six months of electricity bills)
-
Select commonly available equipment instead of special-order models
-
Schedule work during the dry season (November–March)
8. Does requesting faster installation increase costs?
Usually no, because timelines are driven mainly by administrative procedures rather than physical installation speed.
You cannot “pay extra” to accelerate approvals. However, adding manpower to speed up installation may slightly increase labor costs.
9. When is the best time of year to start a solar project?
October–November is ideal for surveys, allowing installation during December–February (dry season).
This enables the system to be operational before the new year. Avoid starting in May–June, which often leads to rainy-season delays.
10. How can project progress be monitored?
Professional EPC contractors typically provide:
-
Regular progress reports via email or messaging
-
Monitoring apps or web portals
-
A dedicated project manager
Request clear timeline commitments in the contract, along with clauses addressing delays (excluding force majeure such as extreme weather).
Optimized Planning for Your Solar Project
Once you understand the full process and influencing factors, creating a structured plan will help ensure a smooth project rollout.
📋 Preparation checklist
Before contacting EPC contractors (1–2 weeks prior)
-
Collect electricity bills from the past six months
-
Prepare land ownership and building documents (if available)
-
Take photos of the roof from multiple angles
-
Estimate roof area
-
Define your budget
Survey & EPC selection phase (1–2 weeks)
-
Compare at least three EPC contractors
-
Review completed project portfolios
-
Carefully read contract terms and warranties
-
Confirm a clear project timeline in the contract
-
Clarify responsibilities for permitting and EVN coordination
During project execution
-
Track progress regularly
-
Respond promptly to document requests
-
Stay flexible if weather conditions change
-
Inspect installation quality
💡 Final advice
The timeline for a rooftop solar project depends not only on technical execution, but also on administrative procedures, weather conditions, and the capability of the implementation team. Understanding each phase helps set realistic expectations and prevents disappointment when a project is not “as fast as advertised.”
Remember:
A well-built system is more important than a fast one.
Solar is a long-term investment, and waiting a little longer to ensure quality will pay off over time.
If you are considering installing a rooftop solar system, start the survey process today to allow sufficient preparation time and choose the optimal installation window. A well-planned project from the beginning will save both time and cost in the long run.

 Xem thêm