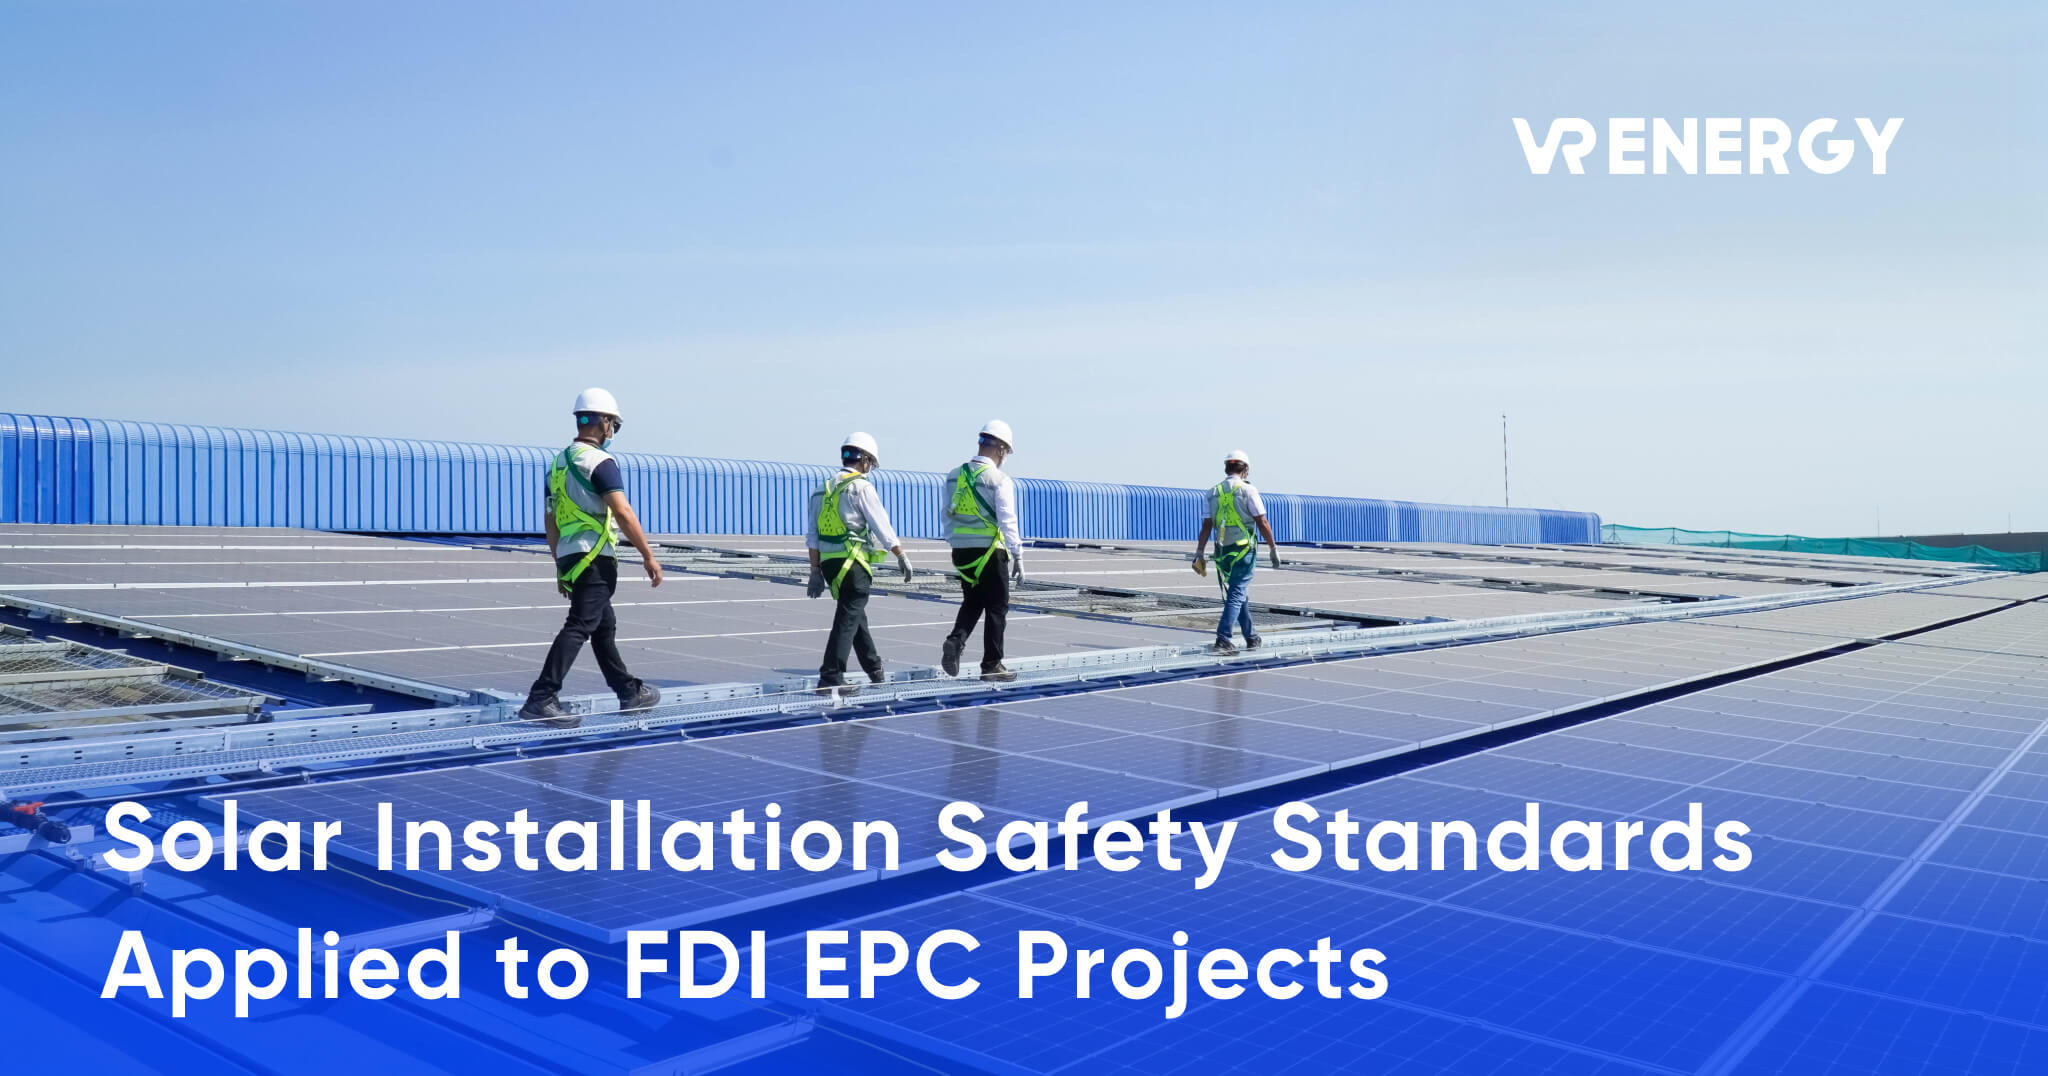
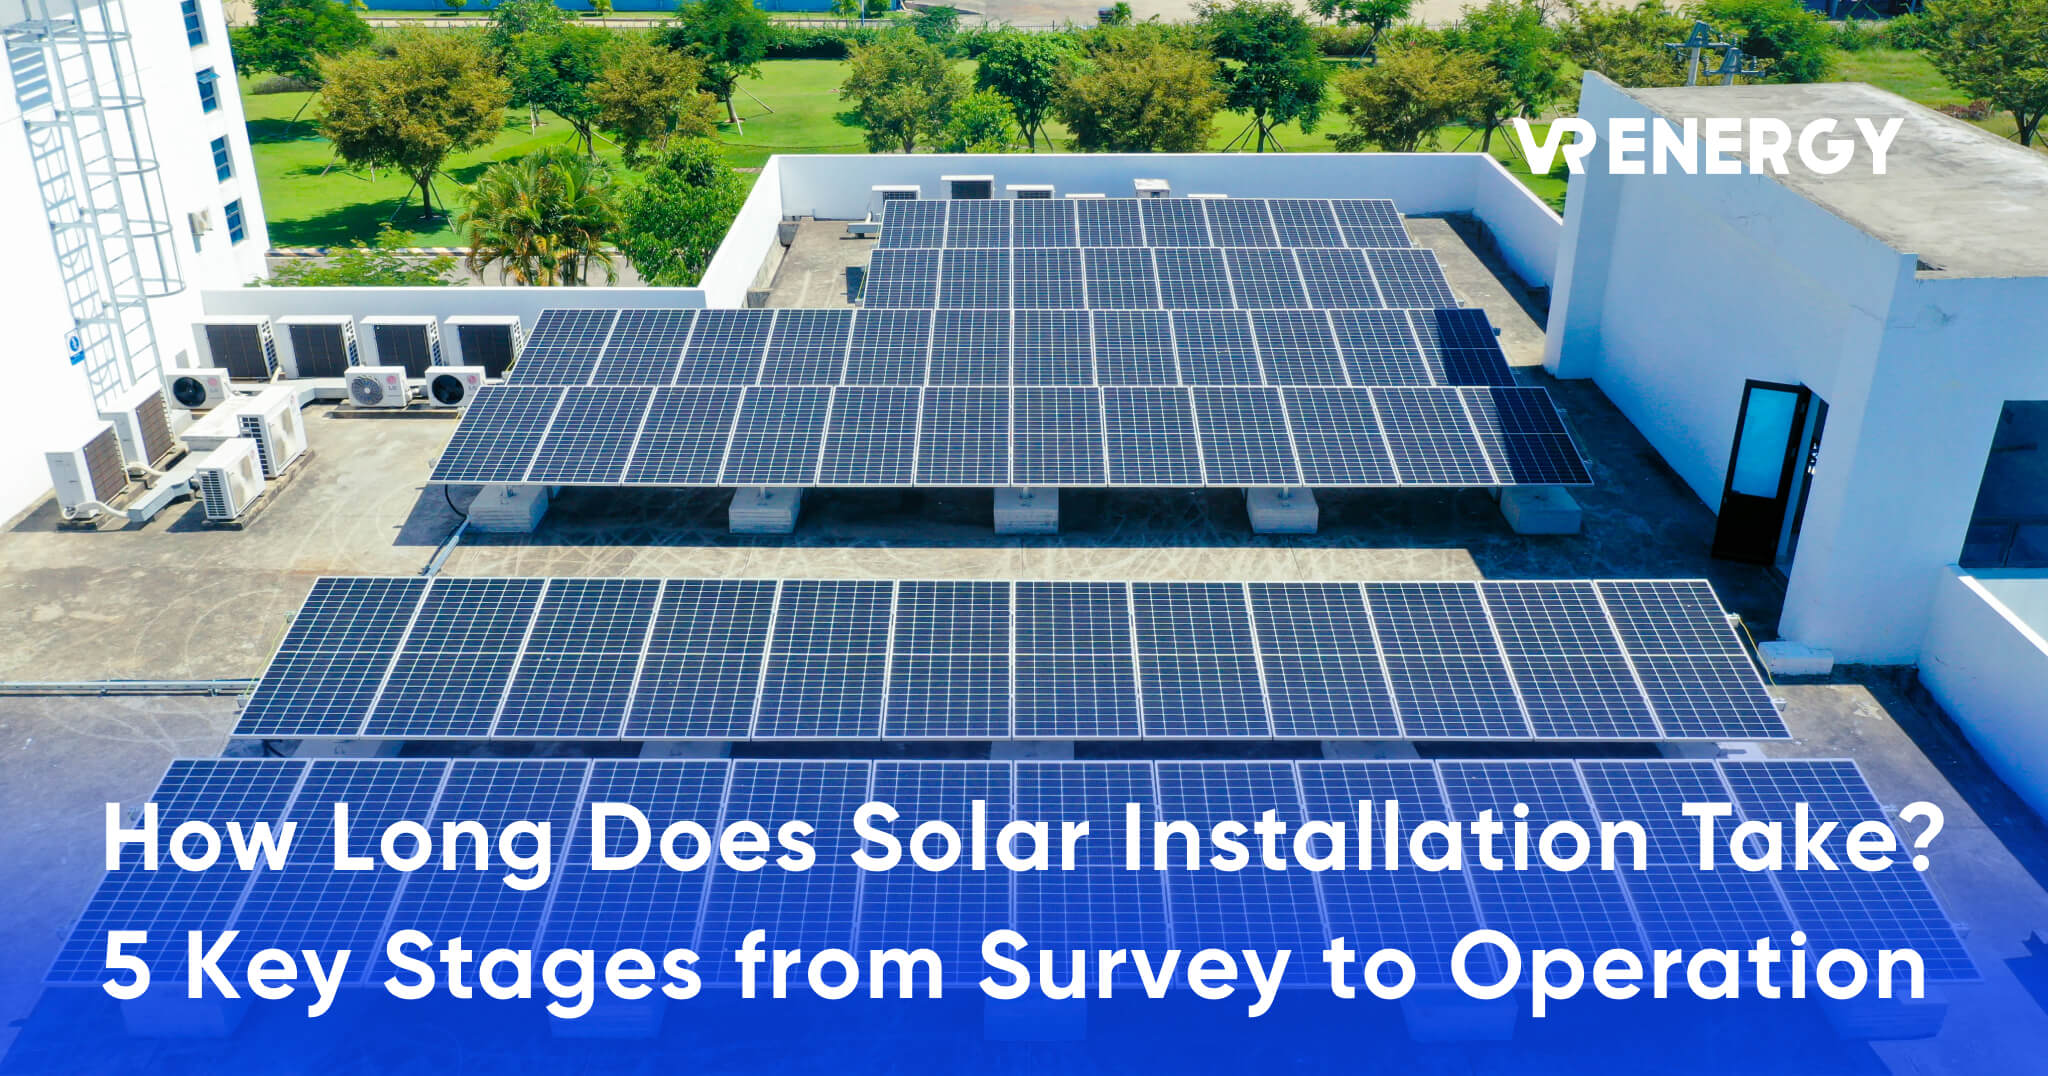
Solar Project Construction Process: A Detailed 6-Step Guide & 2025 Technical Standards
📋 Quick Summary: The solar EPC process has 6 steps
-
Site Survey & Analysis (1–2 weeks)
-
Detailed Design (2–3 weeks)
-
Equipment Procurement (3–4 weeks)
-
Installation & Construction (1–3 weeks)
-
Testing & Acceptance (1 week)
-
Handover & EVN Registration:
-
Systems <100 kW: 3–4 weeks
-
Systems 100–1,000 kW: 6–8 weeks
-
Systems ≥1,000 kW: 8–12 weeks
-
Total duration: 12–18 weeks (≈3–4.5 months)
Average cost: 10–15 million VND/kWp (varies by equipment, installation complexity, and project scale)
Overview of the Solar Construction Workflow
What is the EPC process?
EPC (Engineering–Procurement–Construction) is a turnkey contracting model covering the entire cycle: engineering design, equipment procurement, and construction. In solar, the EPC contractor is responsible from initial survey through to handover of a fully commissioned system.
Why choose EPC over piecemeal contracting? You work with one accountable party, design and construction are synchronized, technical risk is reduced, and you receive a comprehensive system-level warranty.
3 System Types & How Their Workflows Differ
| System Type | Complexity | Build Time | Characteristics |
|---|---|---|---|
| On-grid (grid-tied) | Low | 5–10 days | Direct grid connection; no batteries |
| Off-grid (stand-alone) | Medium | 10–15 days | Uses battery storage; suits remote/unstable grid areas |
| Hybrid | High | 15–20 days | Combines both; most flexible & resilient |
-
On-grid: for facilities with stable utility power aiming to cut bills and export surplus to the Vietnam Electricity (EVN) grid.
-
Off-grid: for sites without grid access or where grid power is unreliable.
-
Hybrid: ideal for facilities that need continuous power and want to maximize energy efficiency.
Why follow a standardized process?
Per the Ministry of Industry and Trade, all solar systems must meet electrical safety and construction quality standards. A standard process safeguards technical quality, optimizes costs, shortens timelines, simplifies progress monitoring, and reduces legal risk when registering grid connection with EVN.
Step 1 — Site Survey & Project Requirements Analysis (1–2 Weeks)
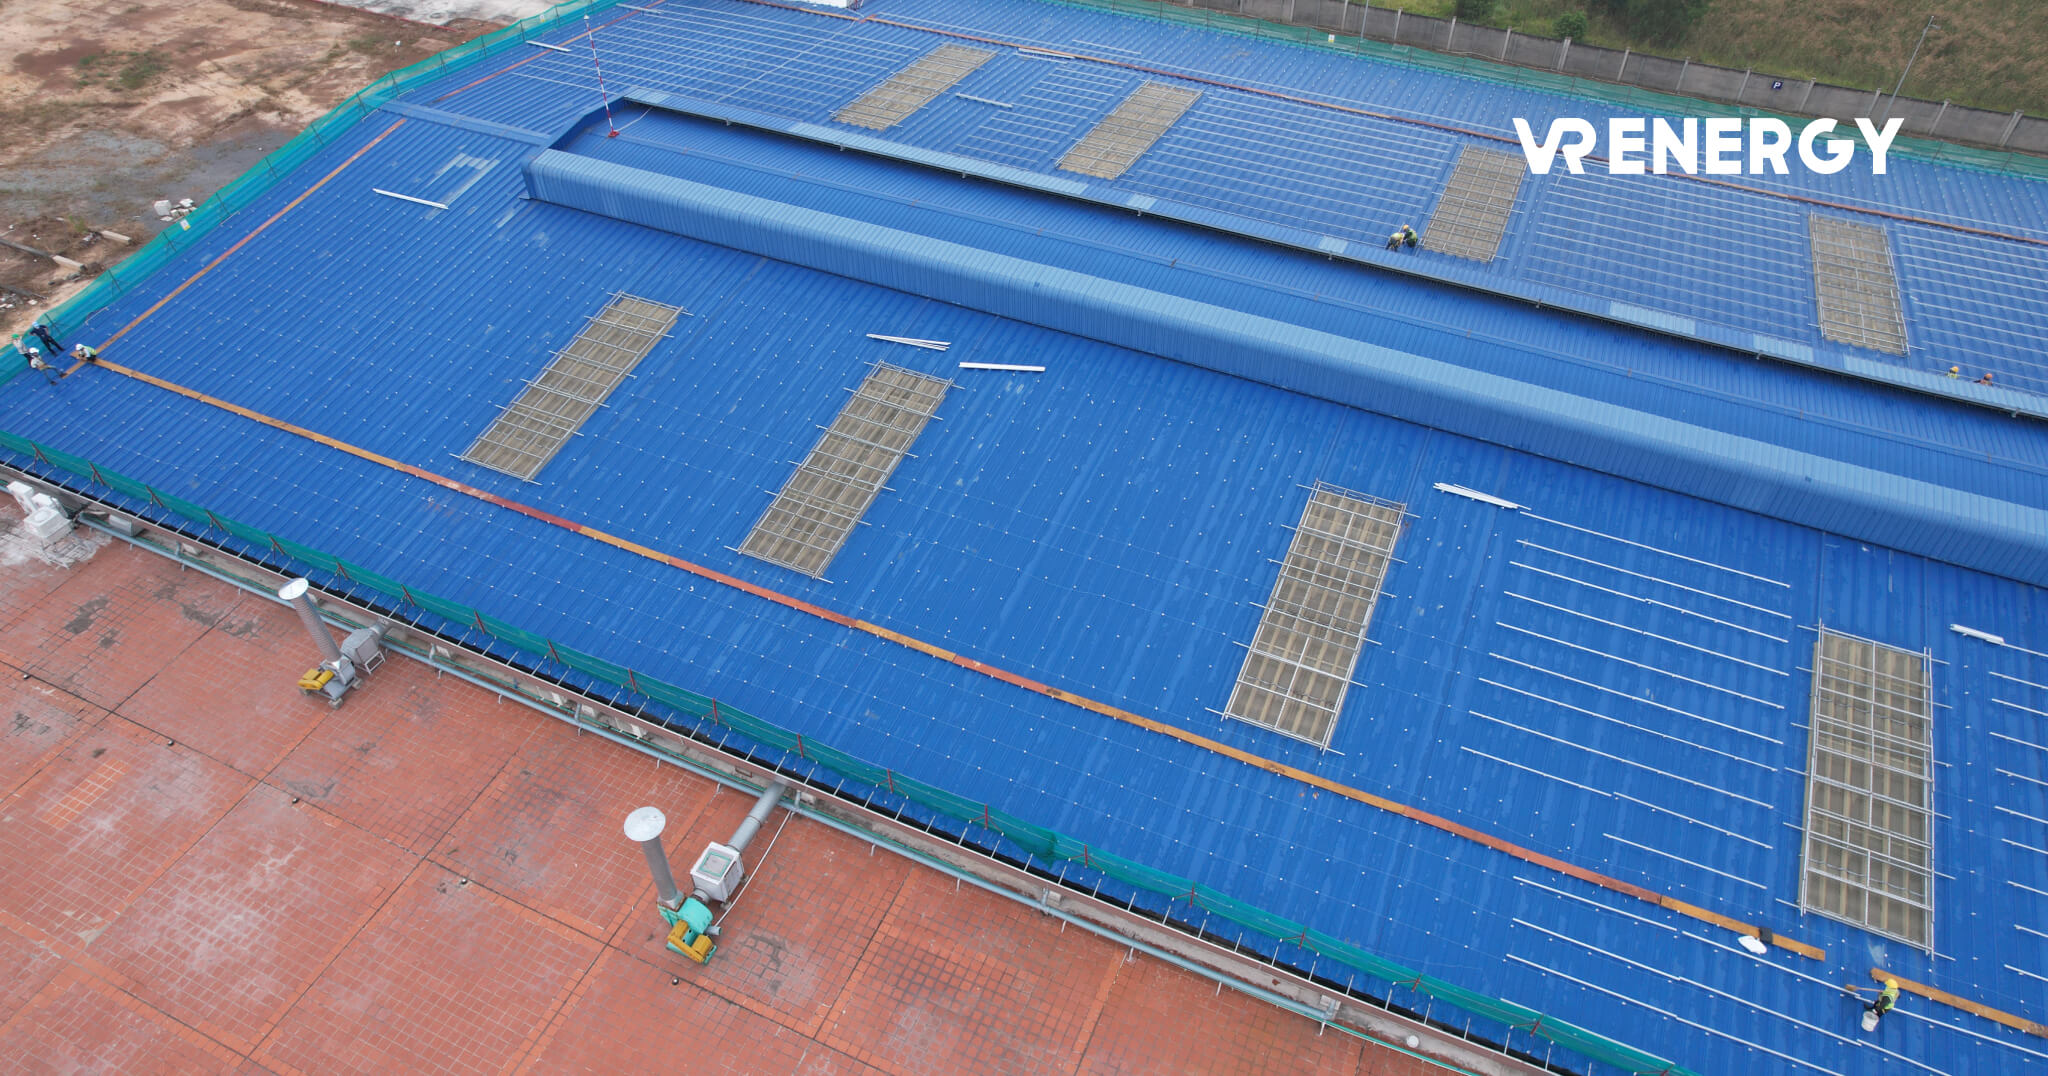
Topographic Survey & Roof Condition Assessment
A thorough survey determines project success. The technical team should perform:
Survey checklist:
-
Measure usable roof area (m²) and define installable zones
-
Verify roof load capacity (≥30 kg/m² as a rule of thumb)
-
Assess solar orientation (best: South; acceptable: Southeast or Southwest)
-
Analyze shading from trees/buildings across the day
-
Check roof type (metal tile, clay tile, concrete) to select the right mounting system
-
Measure current roof tilt
How to confirm adequate structural capacity: A standard rooftop PV array (modules + racking + wind load) is ~25–30 kg/m². For buildings over 10 years old or roofs showing weakness, obtain a structural assessment from a licensed engineer.
Shading mitigation options:
-
Use optimizers (Tigo, SolarEdge) for module-level optimization
-
Design strings with bypass diodes accounted for to minimize mismatch loss
-
Microinverters per module (highest cost, strongest shade resilience)
Load Analysis (Electricity Demand)
Sizing formula (quick planning):
System size (kWp) = Target monthly offset (kWh/month) ÷ [Regional solar factor × 30 days]
Regional solar factor (daily yield per kWp):
-
North: 3.5–4.5 kWh/kWp/day
-
Central: 4.0–5.0 kWh/kWp/day
-
South: 4.5–5.5 kWh/kWp/day
Self-consumption ratio: typically 60–80% (commercial/industrial), 30–50% (residential).
Example:
Factory uses 50,000 kWh/month (South).
Target offset 70% ⇒ 35,000 kWh/month.
Regional factor 5 kWh/kWp/day.
Required size: 35,000 ÷ (5 × 30) = 233 kWp.
Note: The quick rule “monthly kWh ÷ 100” is a rough South-Vietnam heuristic only; do not replace formal engineering.
Collect and analyze the last 12 months of bills to identify: peak months, seasonal trends, and main usage hours (to optimize self-consumption).
Financial Assessment & Funding Options
| Option | Upfront | Payback | Pros | Cons |
|---|---|---|---|---|
| Outright purchase | 100% | 6–7 yrs | No interest cost | High upfront |
| Loan 70% | 30% + interest | 8–9 yrs | Eases cash flow | Interest expense |
| Leasing | 0 upfront | 6–7 yrs | Flexible | Higher total cost |
| PPA | 0 capex | 10–12 yrs | No technical risk | Long-term fixed tariff |
Banks such as Vietcombank, BIDV, VietinBank currently offer preferential loans around 7–9%/year with tenors up to 10 years (subject to credit profile).
Step 2 — Detailed System Design (2–3 Weeks)
System Layout & Core Calculations
Module count:
#Modules = System DC size (Wp) ÷ Module rating (Wp)
Example: 100 kWp DC (~85–95 kW AC) using 650 Wp modules →
100,000 ÷ 650 = 154 modules
Recommended inverter AC: 85–95 kW (DC/AC ratio = 1.05–1.15)
2025 module ratings commonly 600–720 Wp (PERC, TOPCon, HJT).
Inverter selection:
Target DC/AC = 1.05–1.15 (e.g., 100 kW DC → 85–95 kW AC inverter). This maximizes yield in good irradiance without overloading the inverter.
Array Layout & Optimal Tilt
Tilt by region (Vietnam):
-
North: 20–25°
-
Central: 15–20°
-
South: 10–15°
Spacing:
-
Inter-module gap: 5–10 mm for ventilation & thermal relief
-
Row spacing: per shading geometry; typically 1.5–2× the height of the front row
Performance Simulation
Use PVsyst for yield modeling and PR estimation.
-
Good PR: 80–85%; Excellent: >85%
-
<75% suggests design/equipment issues to address.
Step 3 — Equipment & Materials Procurement (3–4 Weeks)
Choosing Solar Modules
| Criterion | Mono PERC | TOPCon | HJT (Heterojunction) |
|---|---|---|---|
| Efficiency | 20–22% | 22–24% | 24–26% |
| Lifetime | 25 yrs | 30 yrs | 30 yrs |
| Degradation | ~0.5%/yr | ~0.4%/yr | ~0.3%/yr |
| Price level | Standard | +10–15% | +20–30% |
| Best for | Mainstream ROI | Long-term, high-efficiency | Premium sites, limited roof area |
Reputable brands: Longi, JA Solar, Trina Solar, Canadian Solar, Jinko Solar. Prefer modules with IEC 61215 (quality) and IEC 61730 (safety) certifications.
Note: Polycrystalline has been largely displaced by Mono PERC since 2023 due to lower efficiency.
Choosing Inverters
Common types:
-
String inverters: mid-scale (50–500 kWp), cost-effective
-
Central inverters: large plants (>500 kWp), high efficiency, easy service
-
Microinverters: small systems; excellent shade handling but highest cost
Quality brands: Huawei, SMA, Sungrow, Fronius, SolarEdge. Ensure ≥5-year warranty and remote monitoring support.
Balance-of-System (BOS) & QA Checks
-
Racking: Aluminum offers superior corrosion resistance vs. galvanized steel (typically 15–20% higher cost). Galvanized steel suits cost-optimized projects.
-
Verify documents: CO/CQ, IEC/TCVN certificates, OEM warranty labels (with lookup codes), clear serials, and complete datasheets.
Step 4 — Construction & Installation (1–3 Weeks)
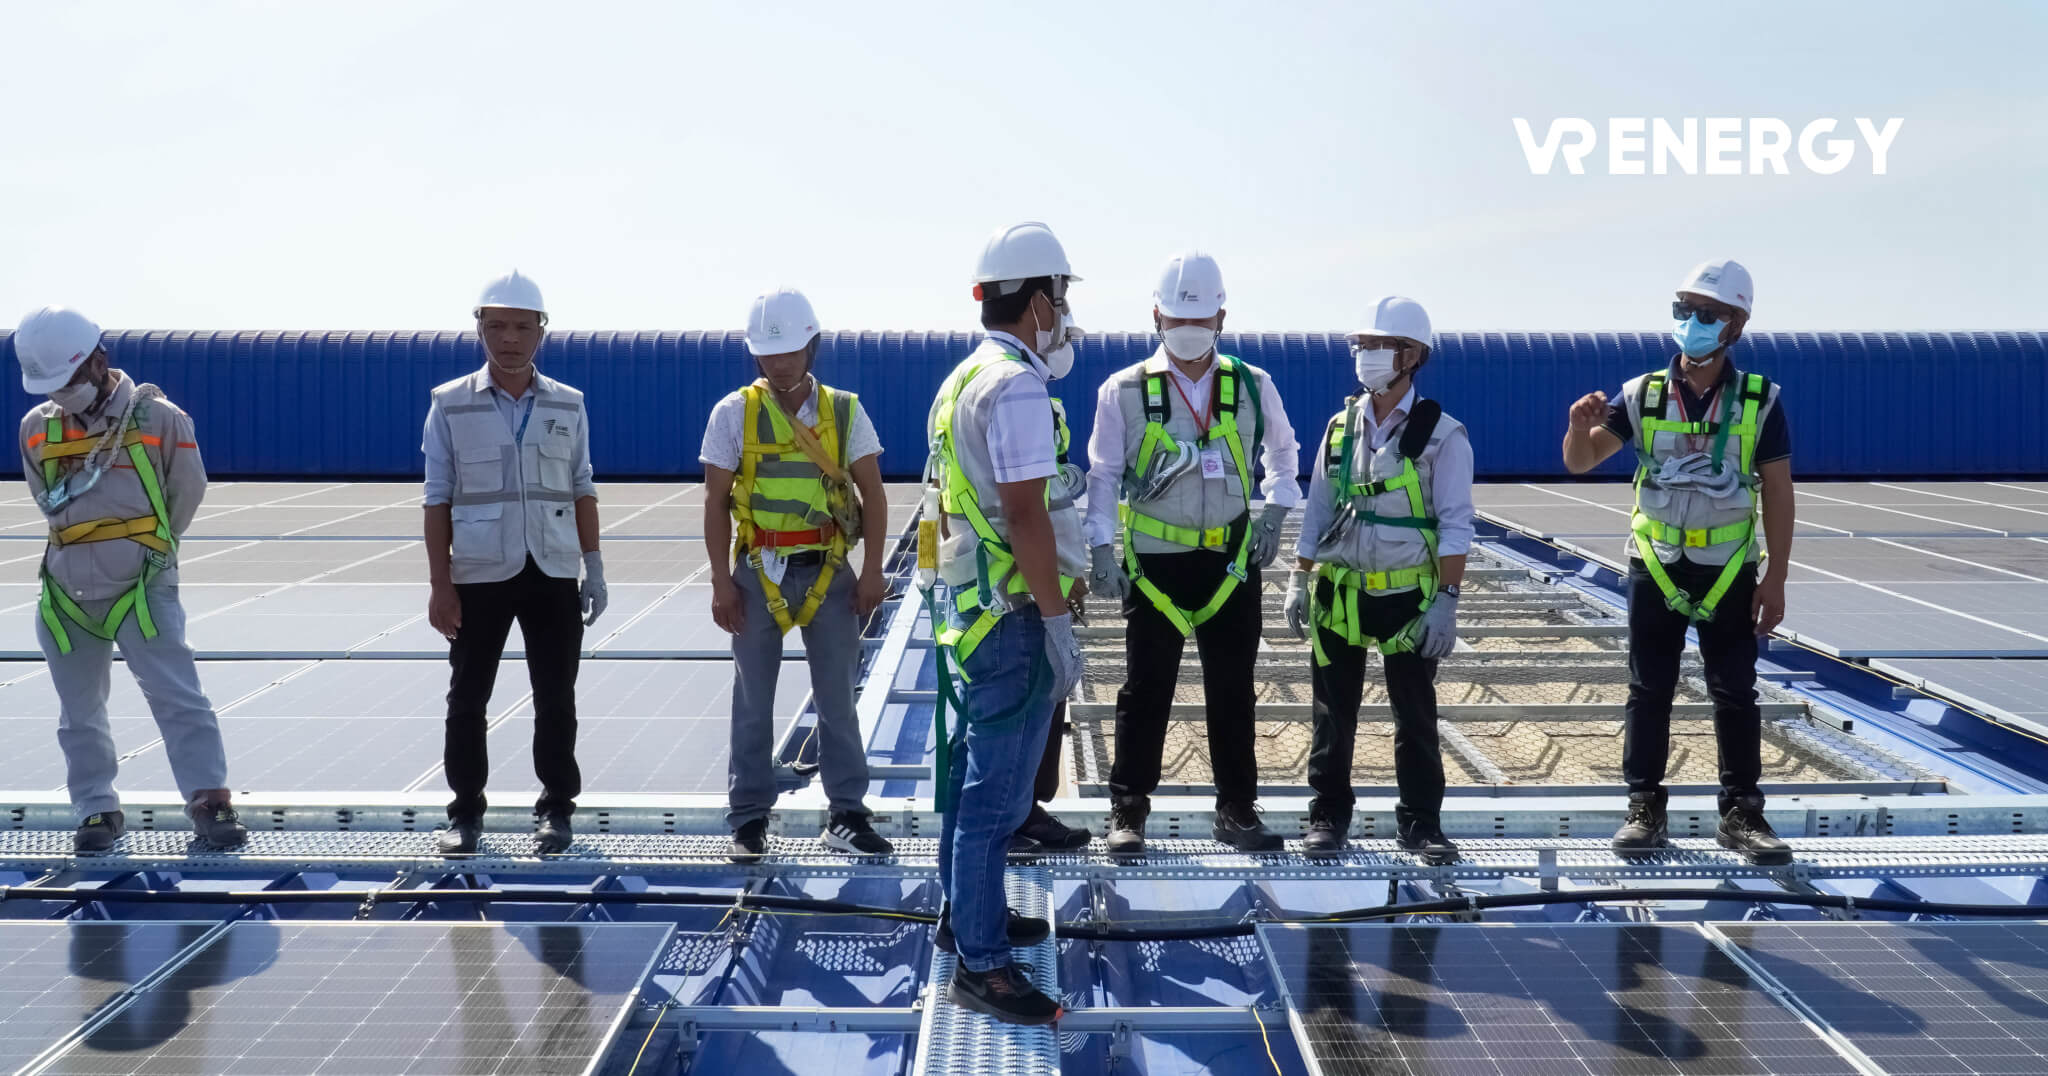
Safety Preparation
Mandatory PPE:
-
Fall arrest (for work >1.8 m, per QCVN 01:2020/BCT)
-
Safety helmet, goggles, non-slip footwear, dielectric gloves
-
Workplace accident insurance for all crew
5-step safety routine:
-
Inspect all tools and equipment
-
Isolate power in the work zone
-
Post clear warning signage
-
Verify fall-arrest gear before climbing
-
Assign a dedicated safety supervisor
Mounting Structure Installation
-
Mark & drill: Use laser alignment. Typical standoff spacing 0.8–1.2 m (roof/type dependent).
-
Footings & waterproofing: After setting feet, seal penetrations with specialty silicone or PU foam—critical to prevent leaks.
-
Rails: Level with a spirit level; square with a try square. Allowable deviation: ±5 mm per 10 m.
Module & Inverter Installation
Install modules bottom-to-top, left-to-right to aid workflow and reduce drop risk. Each module is fixed with 4–8 clamps (size dependent); verify tightness after placement.
Inverter siting:
-
Out of direct sun (<40°C operating preference)
-
Cool, accessible location for service
-
Near the electrical cabinet (distribution board) to minimize AC losses
-
≥30 cm clearance from walls for ventilation
Electrical Connections
The system comprises DC circuits (modules → inverter) and AC circuits (inverter → grid). Follow conductor sizing per TCVN 7447-7-712:2019 (IEC 60364-7-712:2017) to ensure safety and minimize loss.
Required protection:
-
DC & AC circuit breakers (CB)
-
Surge Protection Devices (SPD)
-
Earthing system with resistance <10 Ω
Stringing phrasing (controlled):
Modules are wired in series into strings; multiple strings may be paralleled at the inverter/combiner according to the design.
Step 5 — Testing & Acceptance (1 Week)
Electrical Parameter Checks
DC side
| Parameter | Requirement | Instrument |
|---|---|---|
| Voc (open-circuit voltage) | Datasheet ±5% | Multimeter |
| Isc (short-circuit current) | Datasheet ±5% | Clamp meter |
| IR (insulation resistance) | ≥1 MΩ | Megohmmeter |
| Polarity | Correct +/– | Multimeter |
AC side
| Parameter | Standard | Limit |
|---|---|---|
| Vac | 380 V ±10% | 342–418 V |
| Frequency | 50 Hz | 49.5–50.5 Hz |
| Power factor | ≥0.9 | As per EVN |
| THD | <5% | Ensure power quality |
Commissioning & Monitoring
Run the system 3–5 consecutive days to verify:
-
Output meets modeled expectations (PVsyst)
-
Inverter temperature within safe range
-
No fault codes/abnormal warnings
-
Monitoring app is stable with real-time data
Acceptance Documentation
The acceptance report should be signed by the owner’s representative, EPC contractor, site supervisor (if any), and design engineer. Attach the as-built drawings, equipment certificates, test results, and O&M instructions.
Step 6 — Handover & EVN Grid Registration (1 Week + 4–6 Weeks Queue)
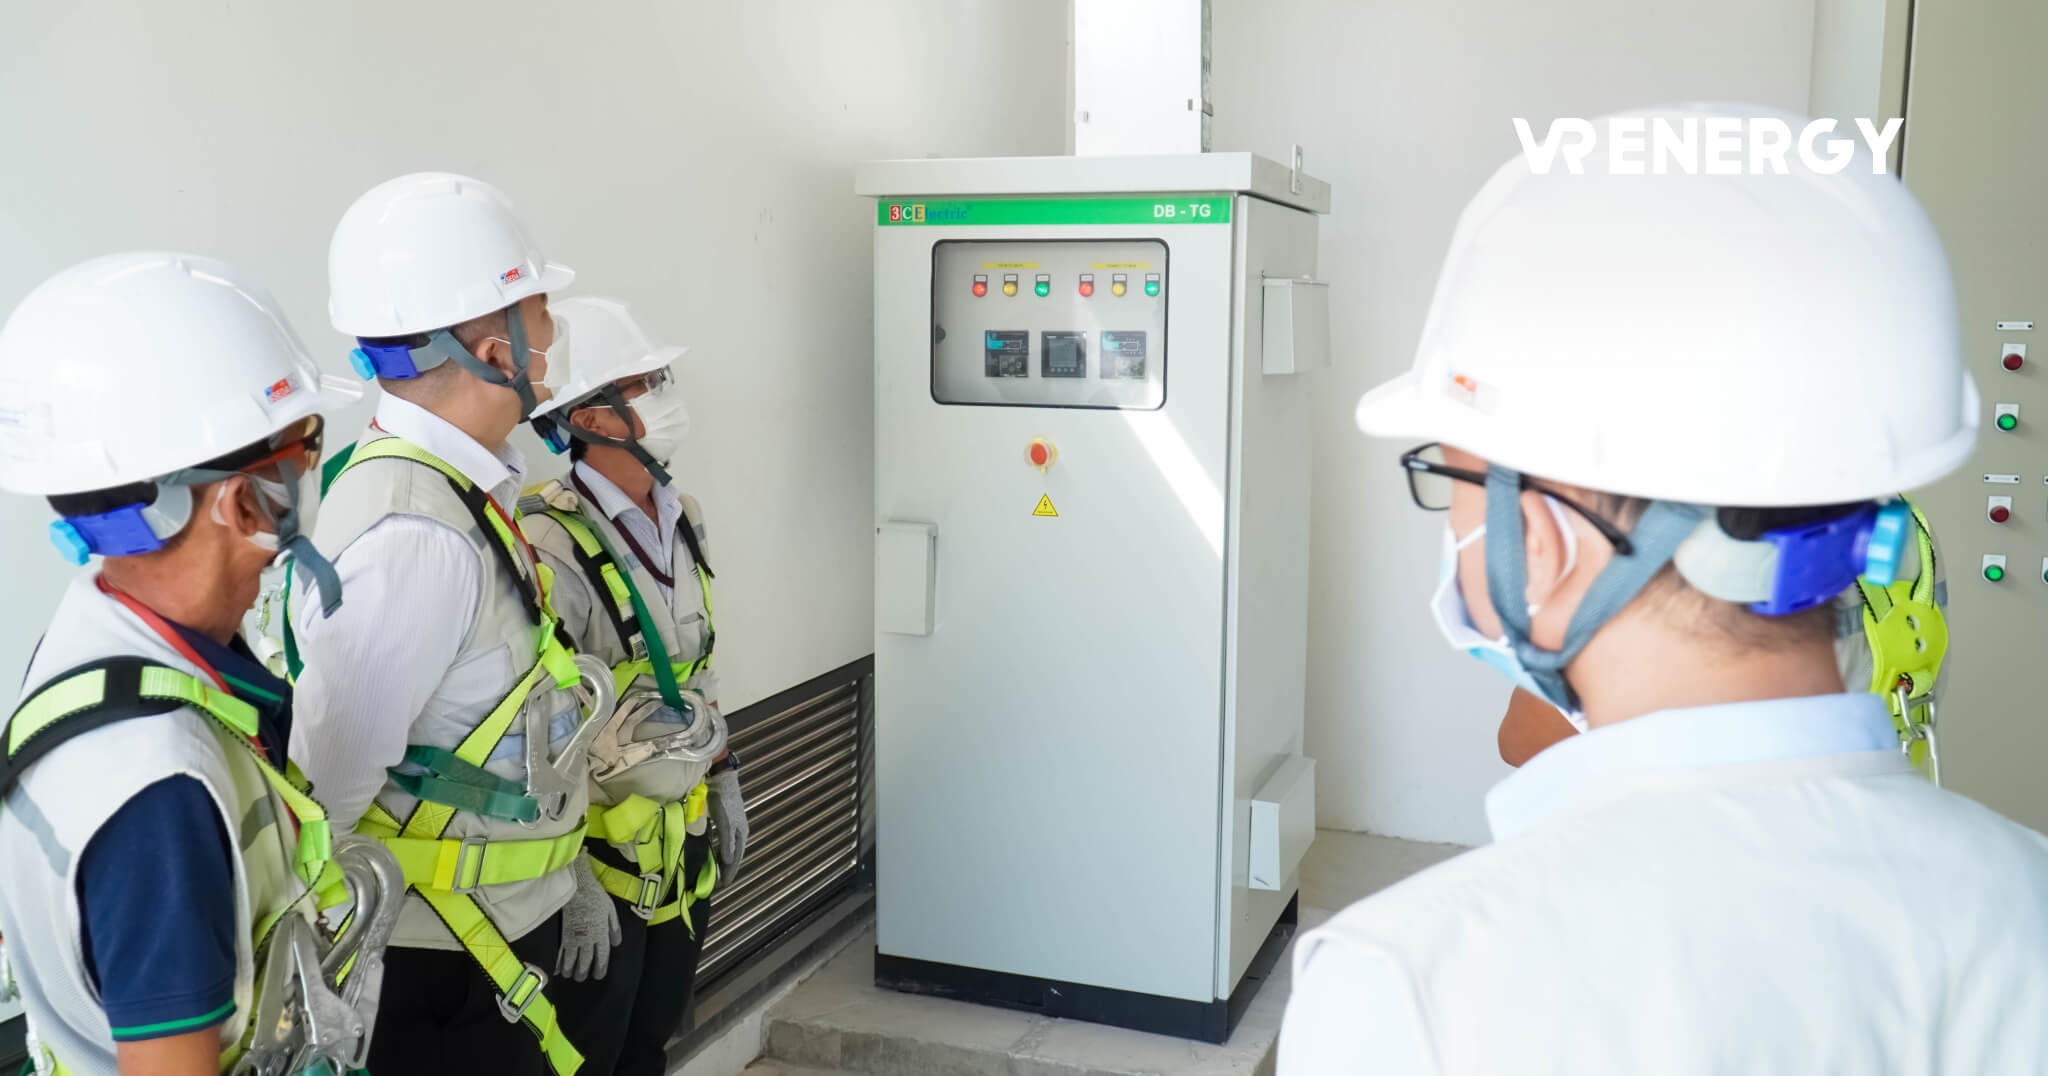
Owner’s Operating Guide
-
Safe on/off sequence (isolate AC → DC; re-energize DC → AC)
-
Using the monitoring app to track production and catch early faults
-
Recognizing common issues (no output, low power) and when to call a technician
EVN Registration Guide
Checklist:
-
Rooftop PV grid-connection application (EVN form)
-
Land use right certificate or lease agreement
-
Design drawings stamped by a licensed design consultant
-
CO/CQ for modules & inverters
-
Acceptance report
-
Building permit (if structural changes or local rules require)
-
Environmental impact report (only for >1 MW or per local authority)
-
Project insurance (if required—often for >100 kW or per lender)
-
Power Purchase Agreement (PPA) per EVN template
-
Single-line diagram
Power-class notes:
-
<100 kW:
-
Notification only (Form 04 under Decree 135/2024/NĐ-CP); land/lease docs; acceptance; equipment certificates
-
-
100–1,000 kW:
-
All <100 kW docs plus stamped design, single-line diagram, PPA
-
-
≥1,000 kW with surplus export:
-
All 100–1,000 kW docs plus Electricity Operation License
-
Typical timelines:
-
<100 kW (most common):
-
Week 1: Submit notification & docs to local EVN
-
Weeks 2–3: EVN survey & install bidirectional meter
-
Week 4: Official commissioning
-
Total: 3–4 weeks
-
-
100–1,000 kW:
-
Weeks 1–2: Submit design & registration
-
Weeks 3–4: EVN review; requests for supplement if needed
-
Weeks 5–6: EVN site checks & technical tests
-
Week 7: Sign PPA
-
Week 8: Meter install & grid-tie
-
Total: 6–8 weeks
-
Actual times can be longer depending on locality and grid loading.
Per Decree 135/2024/NĐ-CP:
-
<100 kW: Notification to EVN only; no formal registration
-
100–1,000 kW: EVN responds within 15 working days
-
>1,000 kW with surplus export: Electricity Operation License required
Surplus Power Policy
Under Decree 135/2024/NĐ-CP:
-
Self-consumption is strongly encouraged; it directly reduces your bill.
-
Surplus sold to EVN: purchased at the average retail electricity price (FMP) published by EVN, or per agreement between the customer and EVN.
-
Bidirectional meter: records both import and export; monthly netting/settlement applies.
Note: Surplus purchase prices are typically lower than upper residential tiers; it’s best to optimize self-consumption rather than over-export.
Mandatory Technical Standards During Construction

Vietnamese Standards (TCVN)
-
TCVN 7447-7-712:2019 — PV system installation requirements: insulation, earthing, cable sizing, protection devices.
-
TCVN 12232:2018 — PV module safety: mechanical strength, thermal resistance, insulation.
-
QCVN 01:2020/BCT — Electrical safety across generation to consumption. Non-compliance can result in penalties or suspension.
Note: TCVN 7447-7-712:2019 (IEC 60364-7-712:2017) supersedes the 2015 version. Legacy projects built to 2015 may be recognized, but new projects should follow 2019.
International Standards (IEC)
| Standard | Applies to | Core requirements |
|---|---|---|
| IEC 61215 | Modules | Quality & environmental durability |
| IEC 61730 | Modules | Electrical safety & fire resistance |
| IEC 62109 | Inverters | Electrical safety & isolation |
| IEC 61727 | Inverters | Grid-interconnection characteristics |
How to verify compliance (label/CO/CQ):
-
Standard code (e.g., IEC 61215:2021) present
-
Recognized certification body (TÜV, SGS, UL, …)
-
Valid issuance date
-
Serial/model matches datasheet
-
QR code for online verification
2025 Solar Project Costs
Stage-by-Stage Cost Breakdown
| Stage | % of Total | Estimated Cost |
|---|---|---|
| Survey & Design | 5% | 0.5–1 million VND/kWp |
| Equipment (Modules, Inverters, BOS) | 70% | 7–10 million VND/kWp |
| Installation | 20% | 2–3 million VND/kWp |
| Acceptance & Documentation | 5% | 0.5–1 million VND/kWp |
| Total | 100% | 10–15 million VND/kWp |
Cost drivers:
-
Equipment tier (Tier-1 typically 15–20% higher than Tier-2)
-
Roof complexity (tile > metal in labor difficulty)
-
Scale (larger projects achieve lower cost per kWp)
Hidden/Ancillary Costs to Watch
-
Administrative procedures by size class:
-
<100 kW: Notification only — no fee
-
100–1,000 kW: Registration & design dossier — local fees apply
-
≥1,000 kW (surplus export): Electricity Operation License — regulated fees
-
-
Bidirectional meter installation: Free (EVN covers per Decree 135/2024/NĐ-CP)
-
Possible local extras: e.g., electrical cabinet relocation/upgrades — confirm with local EVN unit
-
Construction insurance: 0.5–1% of project value (varies by insurer/scale)
-
Technical inspection fees: often for ≥500 kW AC projects (structure, electrical, safety)
ROI & Payback
Payback Period (years) = Total Investment ÷ Annual Savings
Example (South, 100 kWp DC ≈ 90 kW AC):
-
Investment: 1.2 billion VND (= 12 million VND/kWp × 100 kWp)
-
Annual yield: 130,000 kWh (regional factor ~1,300 kWh/kWp/year)
-
Average tariff (industrial ref.): 2,500 VND/kWh (actual bills vary by customer type, TOU tiering, and usage bands)
Annual savings: 130,000 × 2,500 = 325 million VND
Payback: 1,200 / 325 ≈ 3.7 years
Over 25 years of system life, net profit can reach 6–7 billion VND (after maintenance).
Common Issues During Construction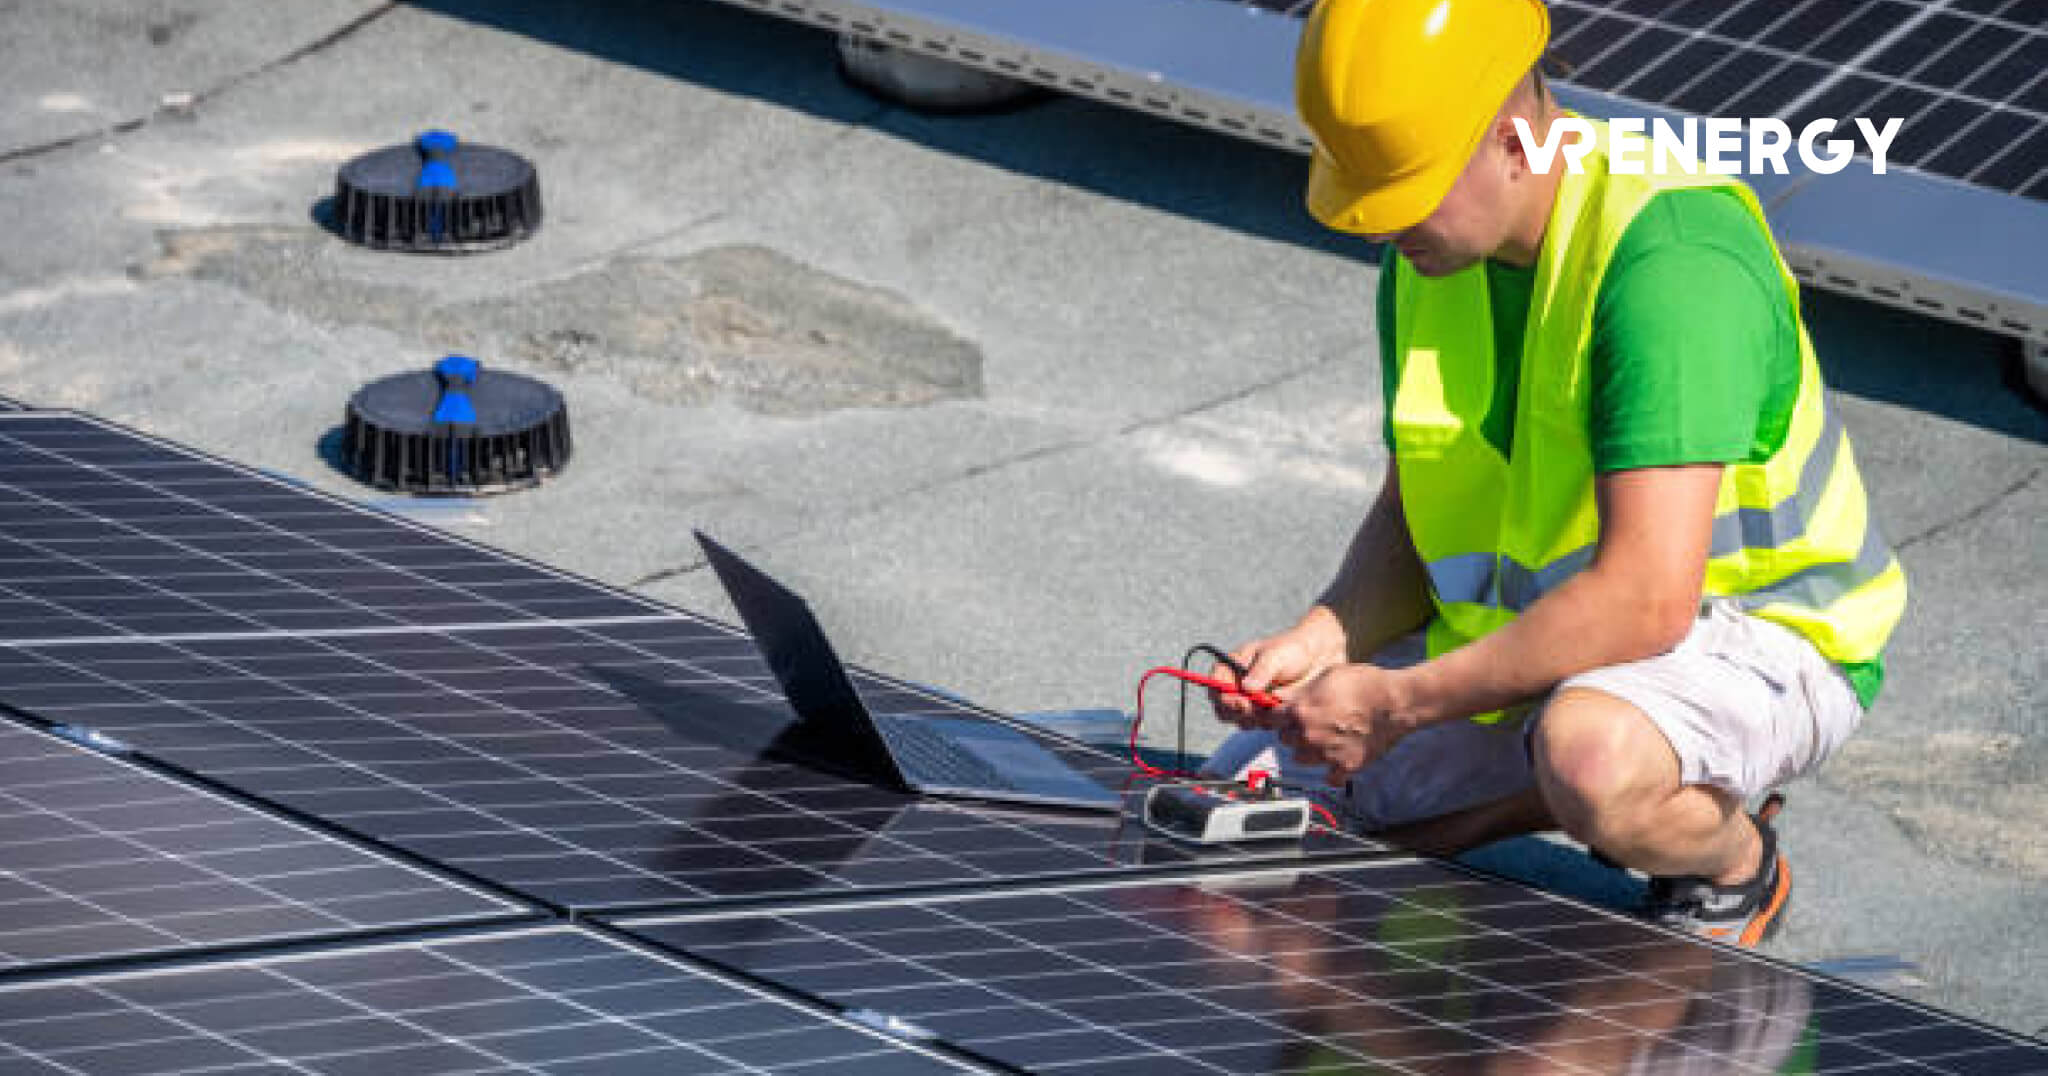
Top 5 Issues & Remedies
-
Insufficient roof load capacity
Fix: Reinforce steel structure or reduce module count using higher-power modules to maintain target capacity. Reinforcement: 200,000–500,000 VND/m². -
Shading from trees/buildings
Fix: Use optimizers (Tigo, SolarEdge) or redesign layout to avoid shade. Optimizer cost: 500,000–800,000 VND/module. -
Inverter won’t start
Causes: Low DC voltage, grounding faults, over-temperature. Re-check wiring, measure per string, ensure cool installation site. -
Roof leaks post-installation
Prevention: Specialty sealants; avoid deep penetrations into waterproofing layers. Fix: Remove local modules, repair thoroughly, reseal. -
Underperformance vs. model
Causes: Unaccounted shading; soiling (5–10% loss); inverter thermal derating; undersized conductors; non-optimal tilt.
When to Call a Technician
Seven red flags:
-
Persistent inverter error codes
-
Output drops >20% vs. typical days
-
Inverter temperature >70°C
-
Burning smell
-
Overheating/discolored cables
-
Meter not recording energy
-
System fails to restart after grid outage
Post-Build O&M
Warranty Matrix
| Component | Warranty | Notes |
|---|---|---|
| Modules | 25 yrs | Power loss <20% vs. initial |
| Inverter | 5–10 yrs | Manufacturing defects; force majeure excluded |
| Racking | 15–20 yrs | Corrosion/deformation from workmanship defects |
| Installation workmanship | 2–5 yrs | Leaks, performance loss due to install errors |
Preventive Maintenance Schedule
Monthly — via App: track daily yield, compare YoY/seasonal, check alarms.
Quarterly — module cleaning: cool hours (6–7 am or 5–6 pm); clean water + soft brush/low-pressure spray; no harsh chemicals.
Annually — full inspection: fasteners & racking, per-string V/I checks, insulation & earth resistance, inverter cleaning/fans, cable condition.
Annual O&M cost: 0.5–1% of system value.
Example: 100 kW system worth 1.2 billion VND → 6–12 million VND/year (cleaning, minor replacements, technical checks).
Choosing a Reliable EPC Contractor
10 Quality Criteria
-
Appropriate competency certificates (e.g., ISO 9001, licensed design/construction)
-
≥5 years solar experience
-
Portfolio of 50+ completed projects with verifiable info
-
Case studies with real photos and performance data
-
Partnerships with Tier-1 equipment brands
-
25-year module warranty; ≥5-year inverter warranty
-
Full support for EVN registration
-
Clear post-handover maintenance plan
-
Transparent, itemized quotations
-
Fast responses; professional consulting
Red Flags to Avoid
-
Quotes >20% below market
-
No fixed office or proper website
-
No clear equipment certificates
-
Unrealistic ROI promises (payback <3 years)
-
Vague contracts; request 100% prepayment
-
No construction insurance
Conclusion & Next Steps
A standardized EPC workflow ensures methodical execution, lower risk, and optimized costs. With the 6 steps from survey to handover, a 3–4.5 month timeline is reasonable for a quality system.
Policy update: Alongside Decree 135/2024/NĐ-CP, Decree 58/2025/NĐ-CP (2025) promotes renewables and introduces additional incentives for rooftop PV. Check with your local Department of Industry and Trade for the current incentives in your area.
Final Pre-Project Checklist
Preparation:
-
Gather last 12 months of electricity bills
-
Confirm roof load capacity (≥30 kg/m²)
-
Prepare budget or financing plan
-
Verify usable roof area
-
Choose system type (on-grid/off-grid/hybrid)
Contractor selection:
-
Compare at least 3 EPC contractors
-
Verify credentials, experience, references
-
Review contract & warranty terms carefully
-
Confirm all equipment has clear certifications
Once you understand the full process, select an experienced EPC partner to execute efficiently. Clarity on each step helps you supervise, ensure build quality, and maximize long-term returns.

 Xem thêm